Whitecap
Active Member
Hey folks,
First, let me introduce myself and say thank you, to all that have contributed so much to this site. It is truly a treasure trove of knowledge here - THANK YOU!
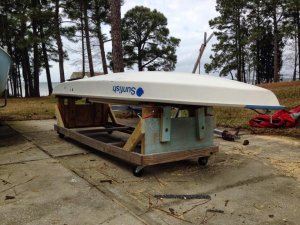
My name is Whitecap, and I live on a lake near Fort Worth Texas. For the past few months I have been reading as much Sunfish information as I could get hands on. This place has been instrumental in starting my journey. After learning, here, how to buy a used Sunfish, what to look for, where to look for it, (scouring the want ads, craigs list and other avenues listed on this forum) - my old neighbor down the street GAVE ME HIS OLD ONE, which has not saild in many years (sitting outside in his back yard).
Boom! Now I have a Sunfish. After a BBQ dinner at my place to say thank you, I set forth to determine the condition of the boat and start the restoration process.
In my mind the process looks like this:
1) say thank you to owner - done
2) say thank you to all here for helping me grow so much in education over the last couple of months - done
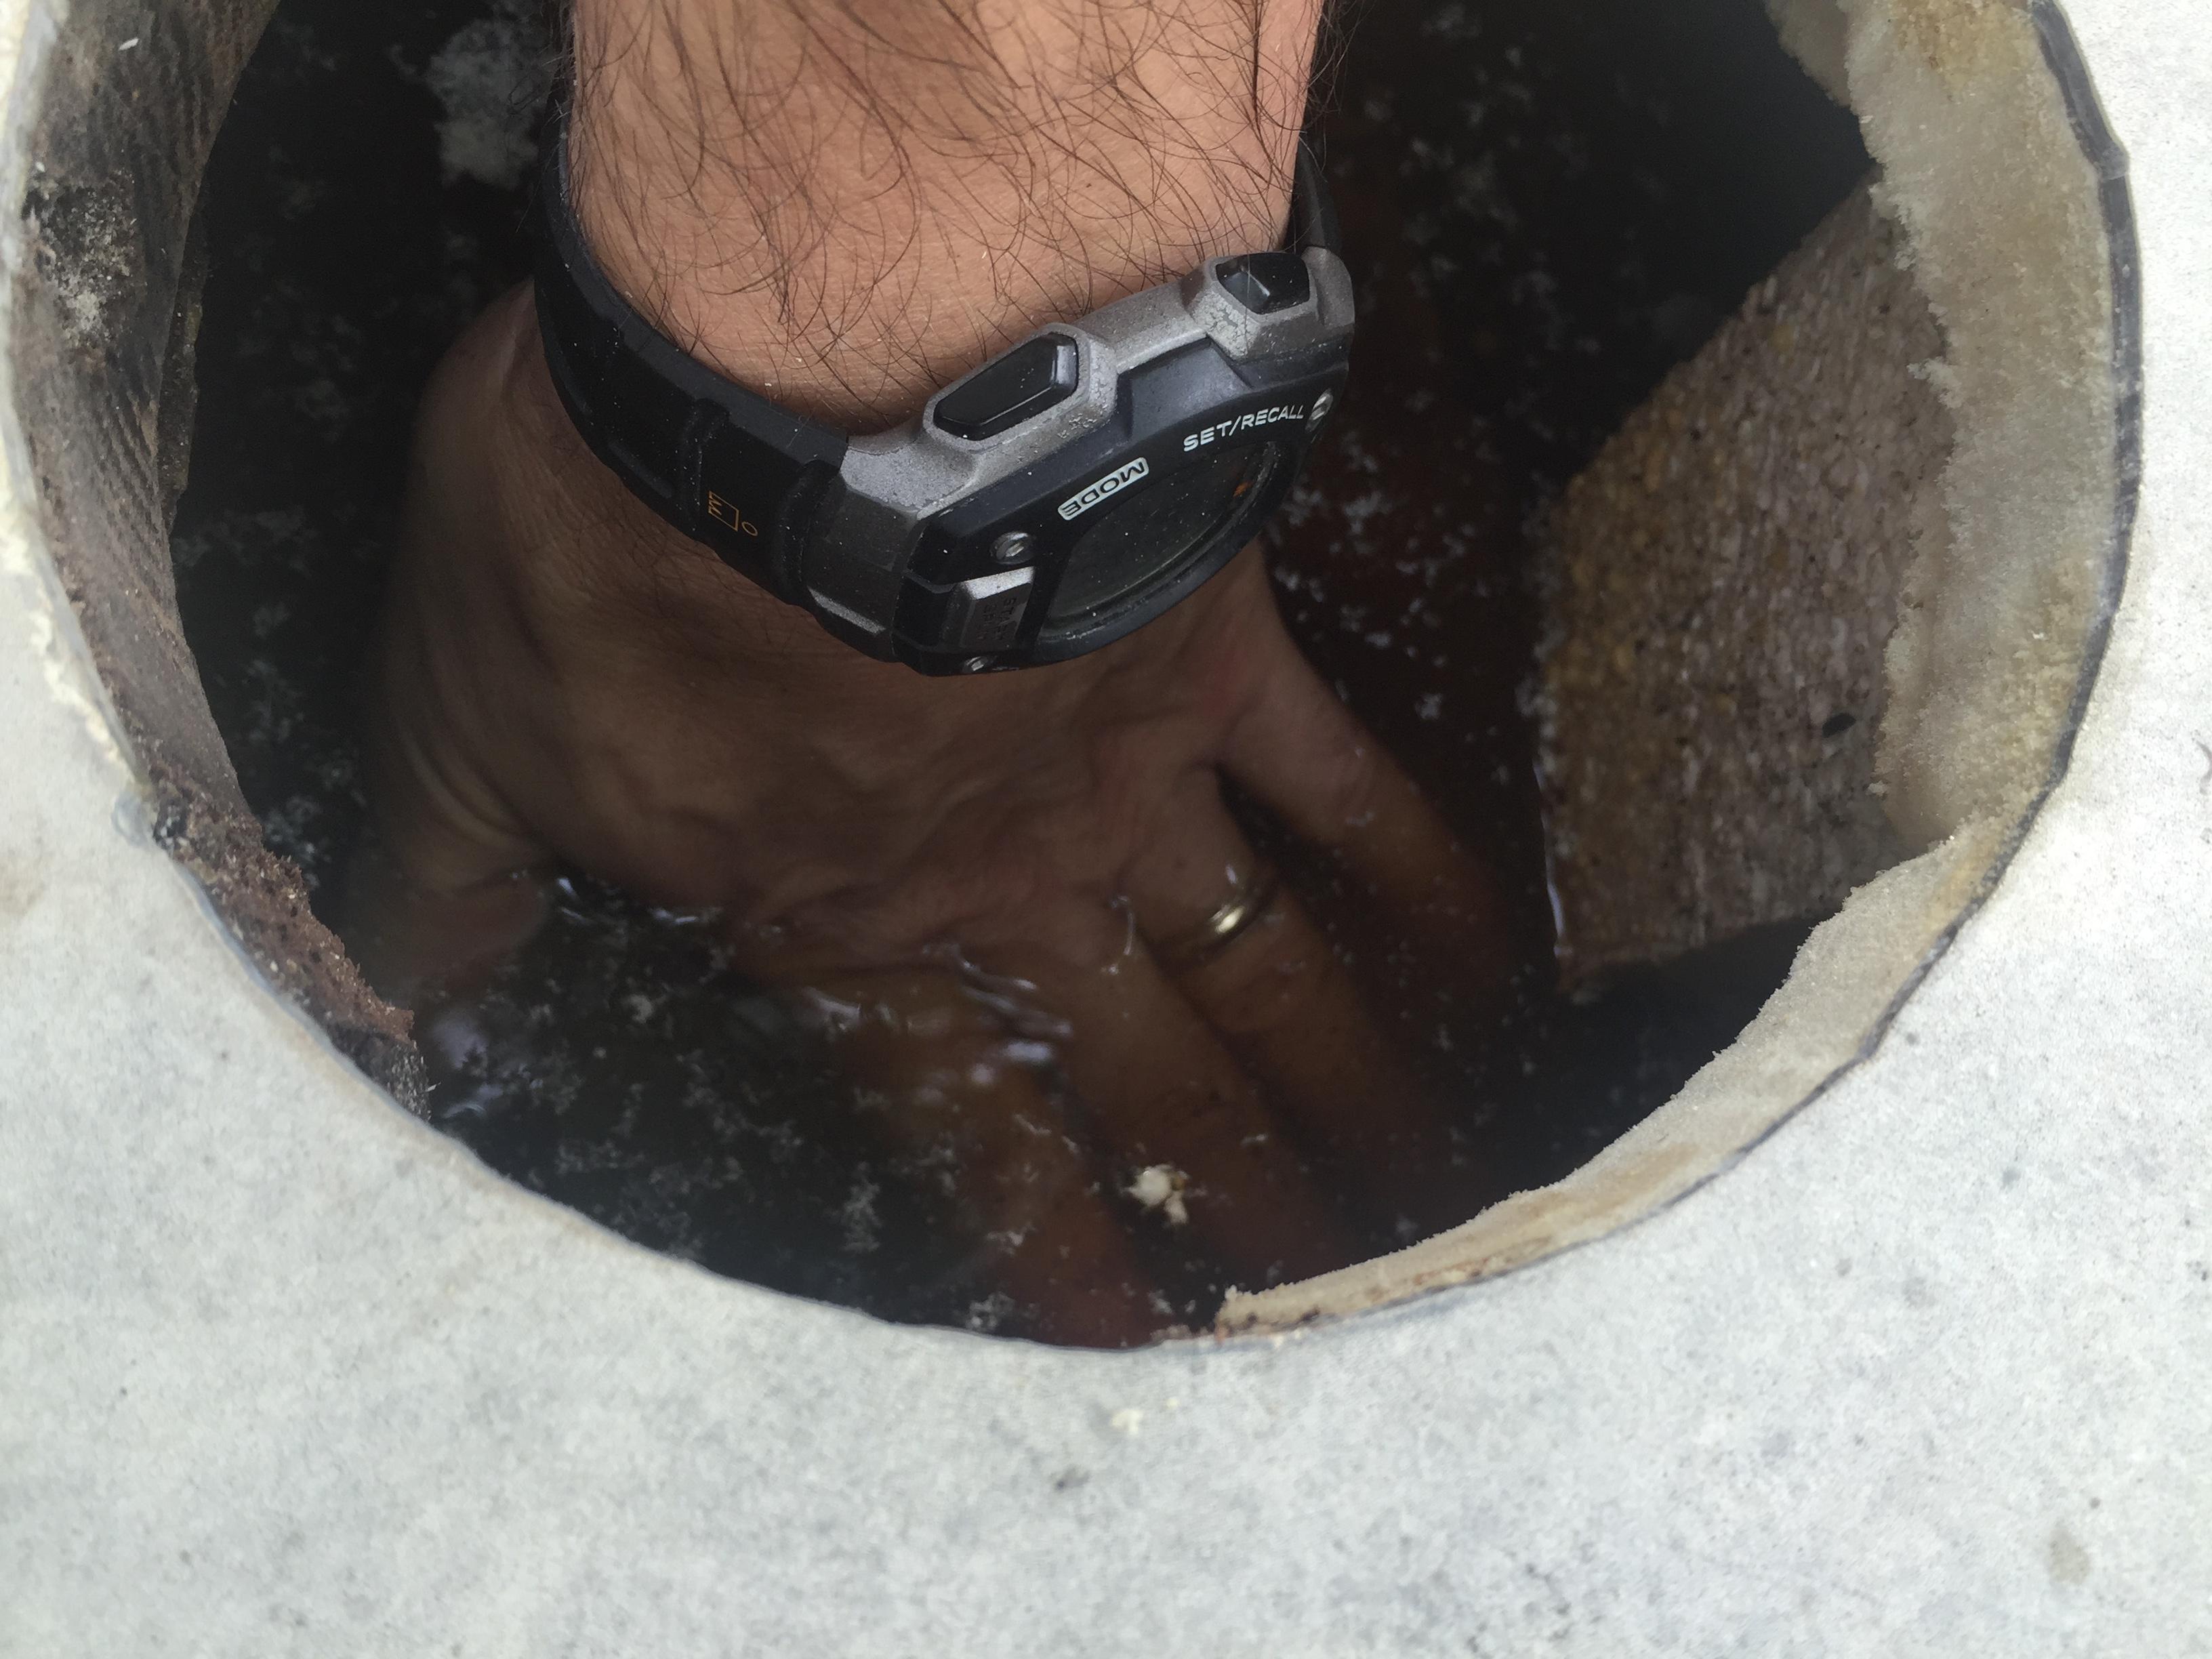
3) weigh the boat - done (it weighed in at 178 punds - my research here tells me that the foam blocks have probably absorbed 40+ lbs of water. I can hear some water sloshing around inside of her when I move her around. It surly needs to be dried out).
4) age determination? Pre 1971?
 (Expertise welcome here)

5) leak test this boat
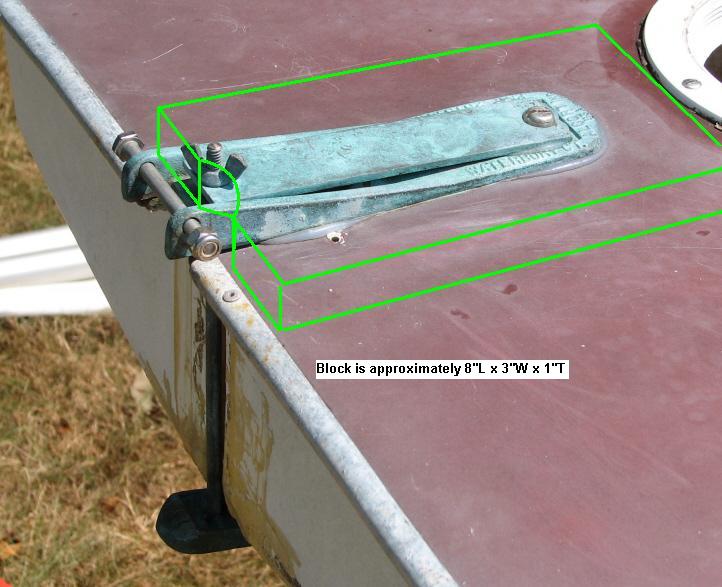
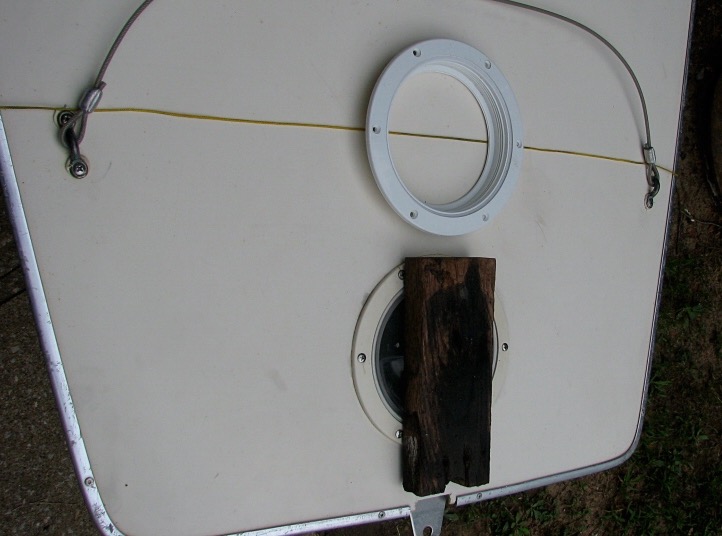
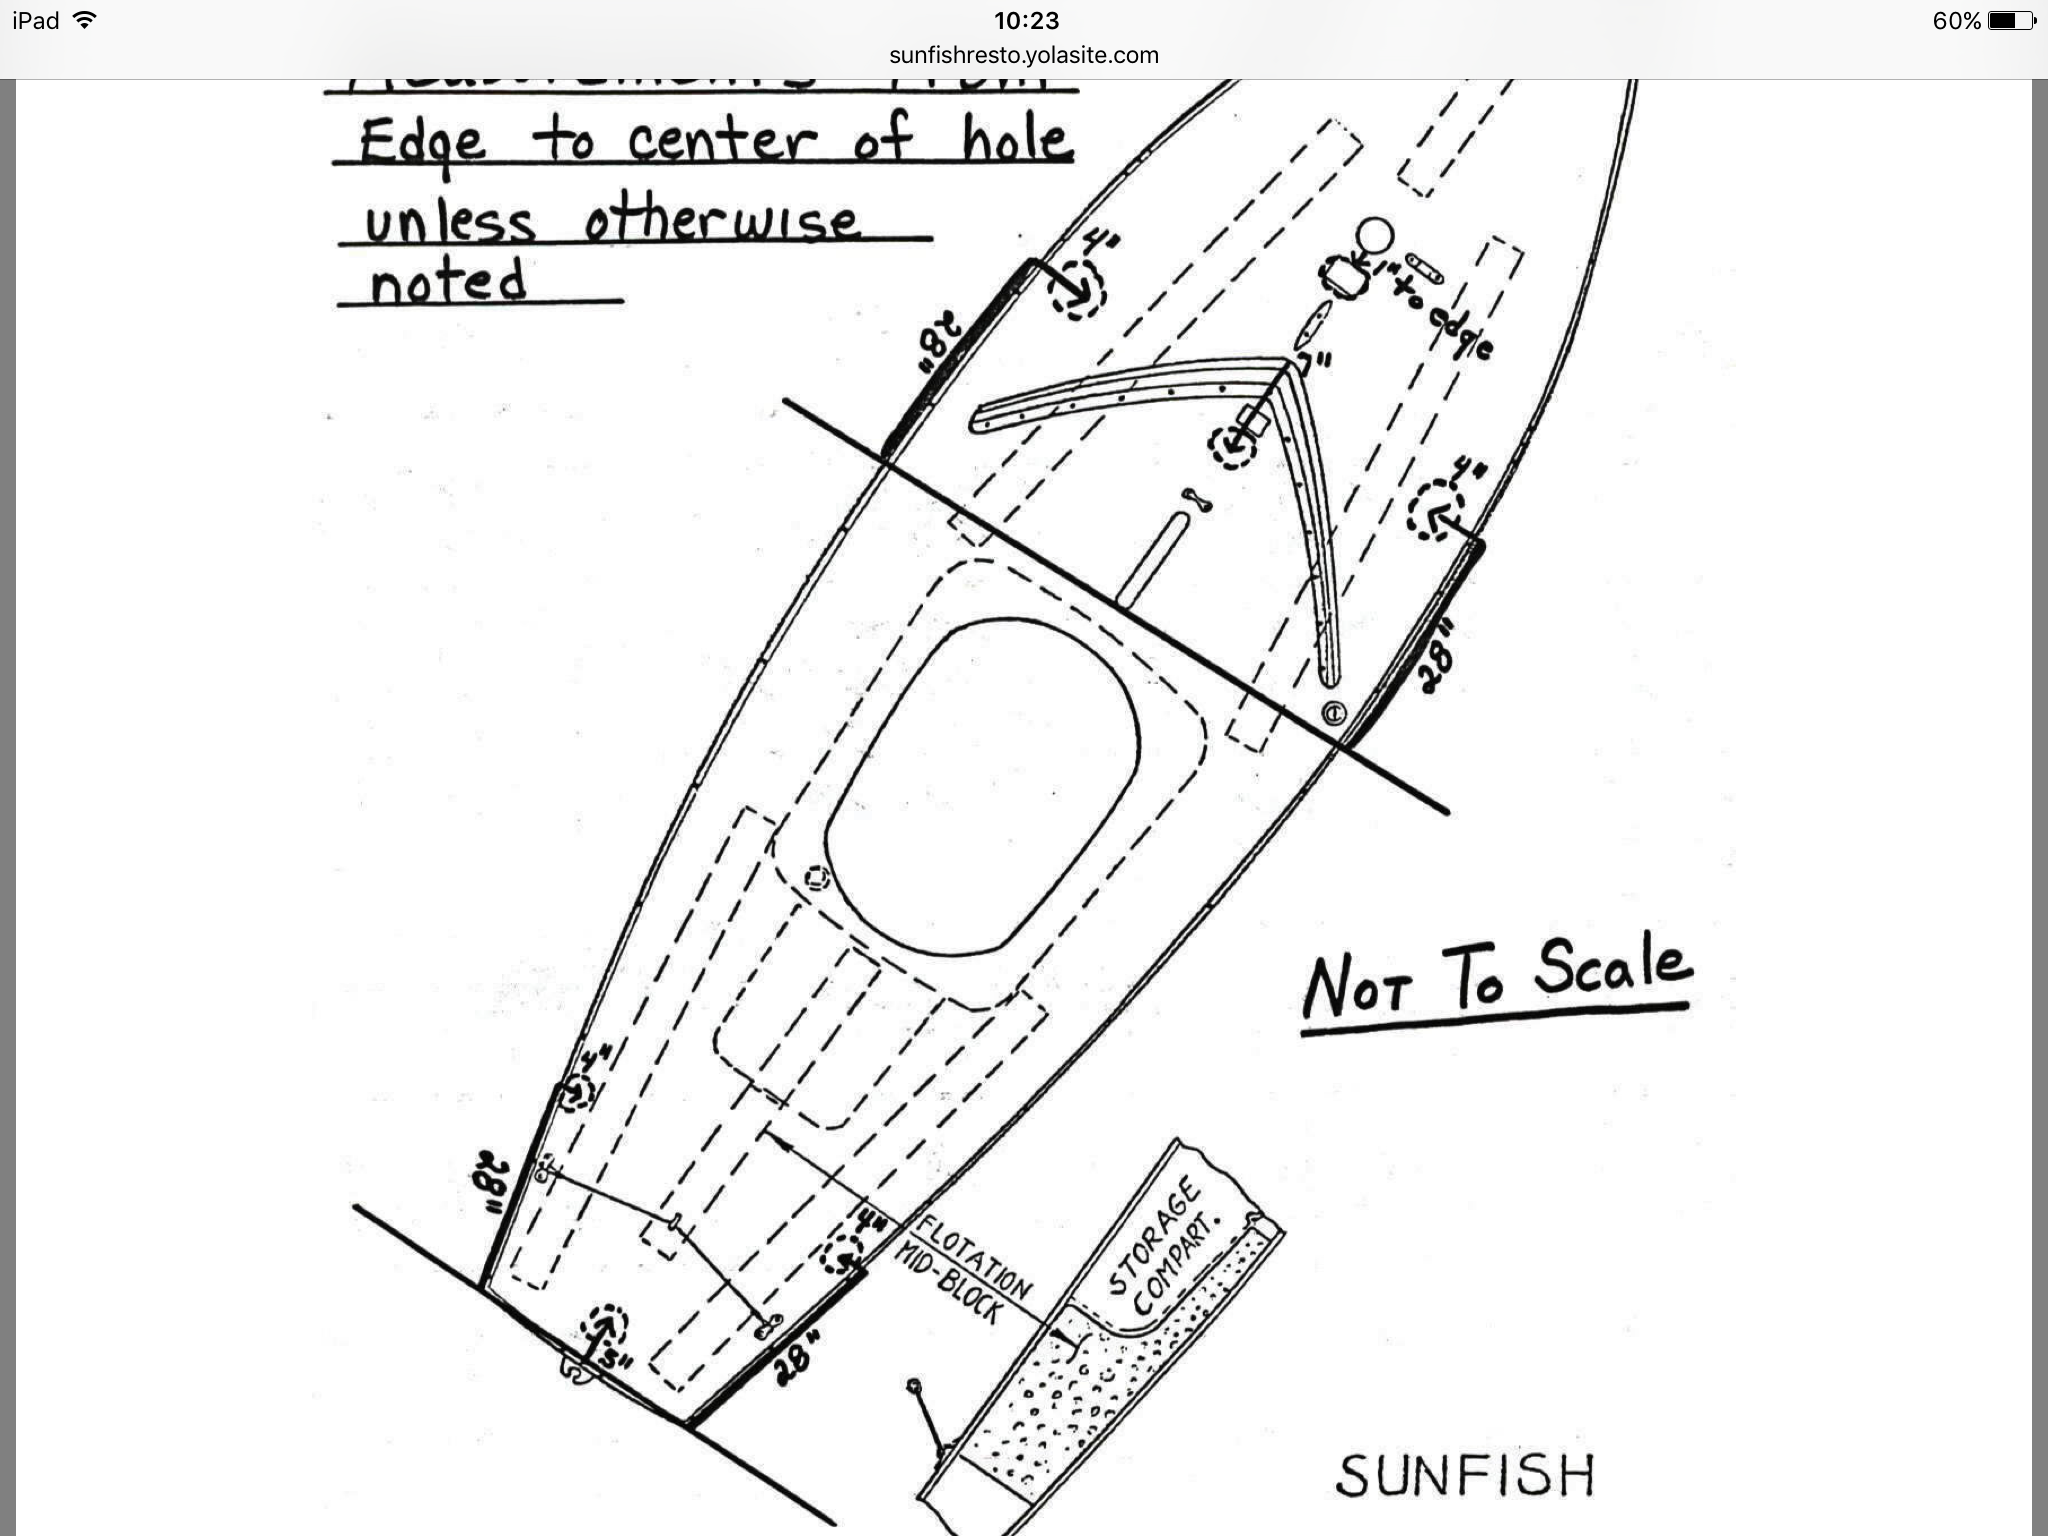
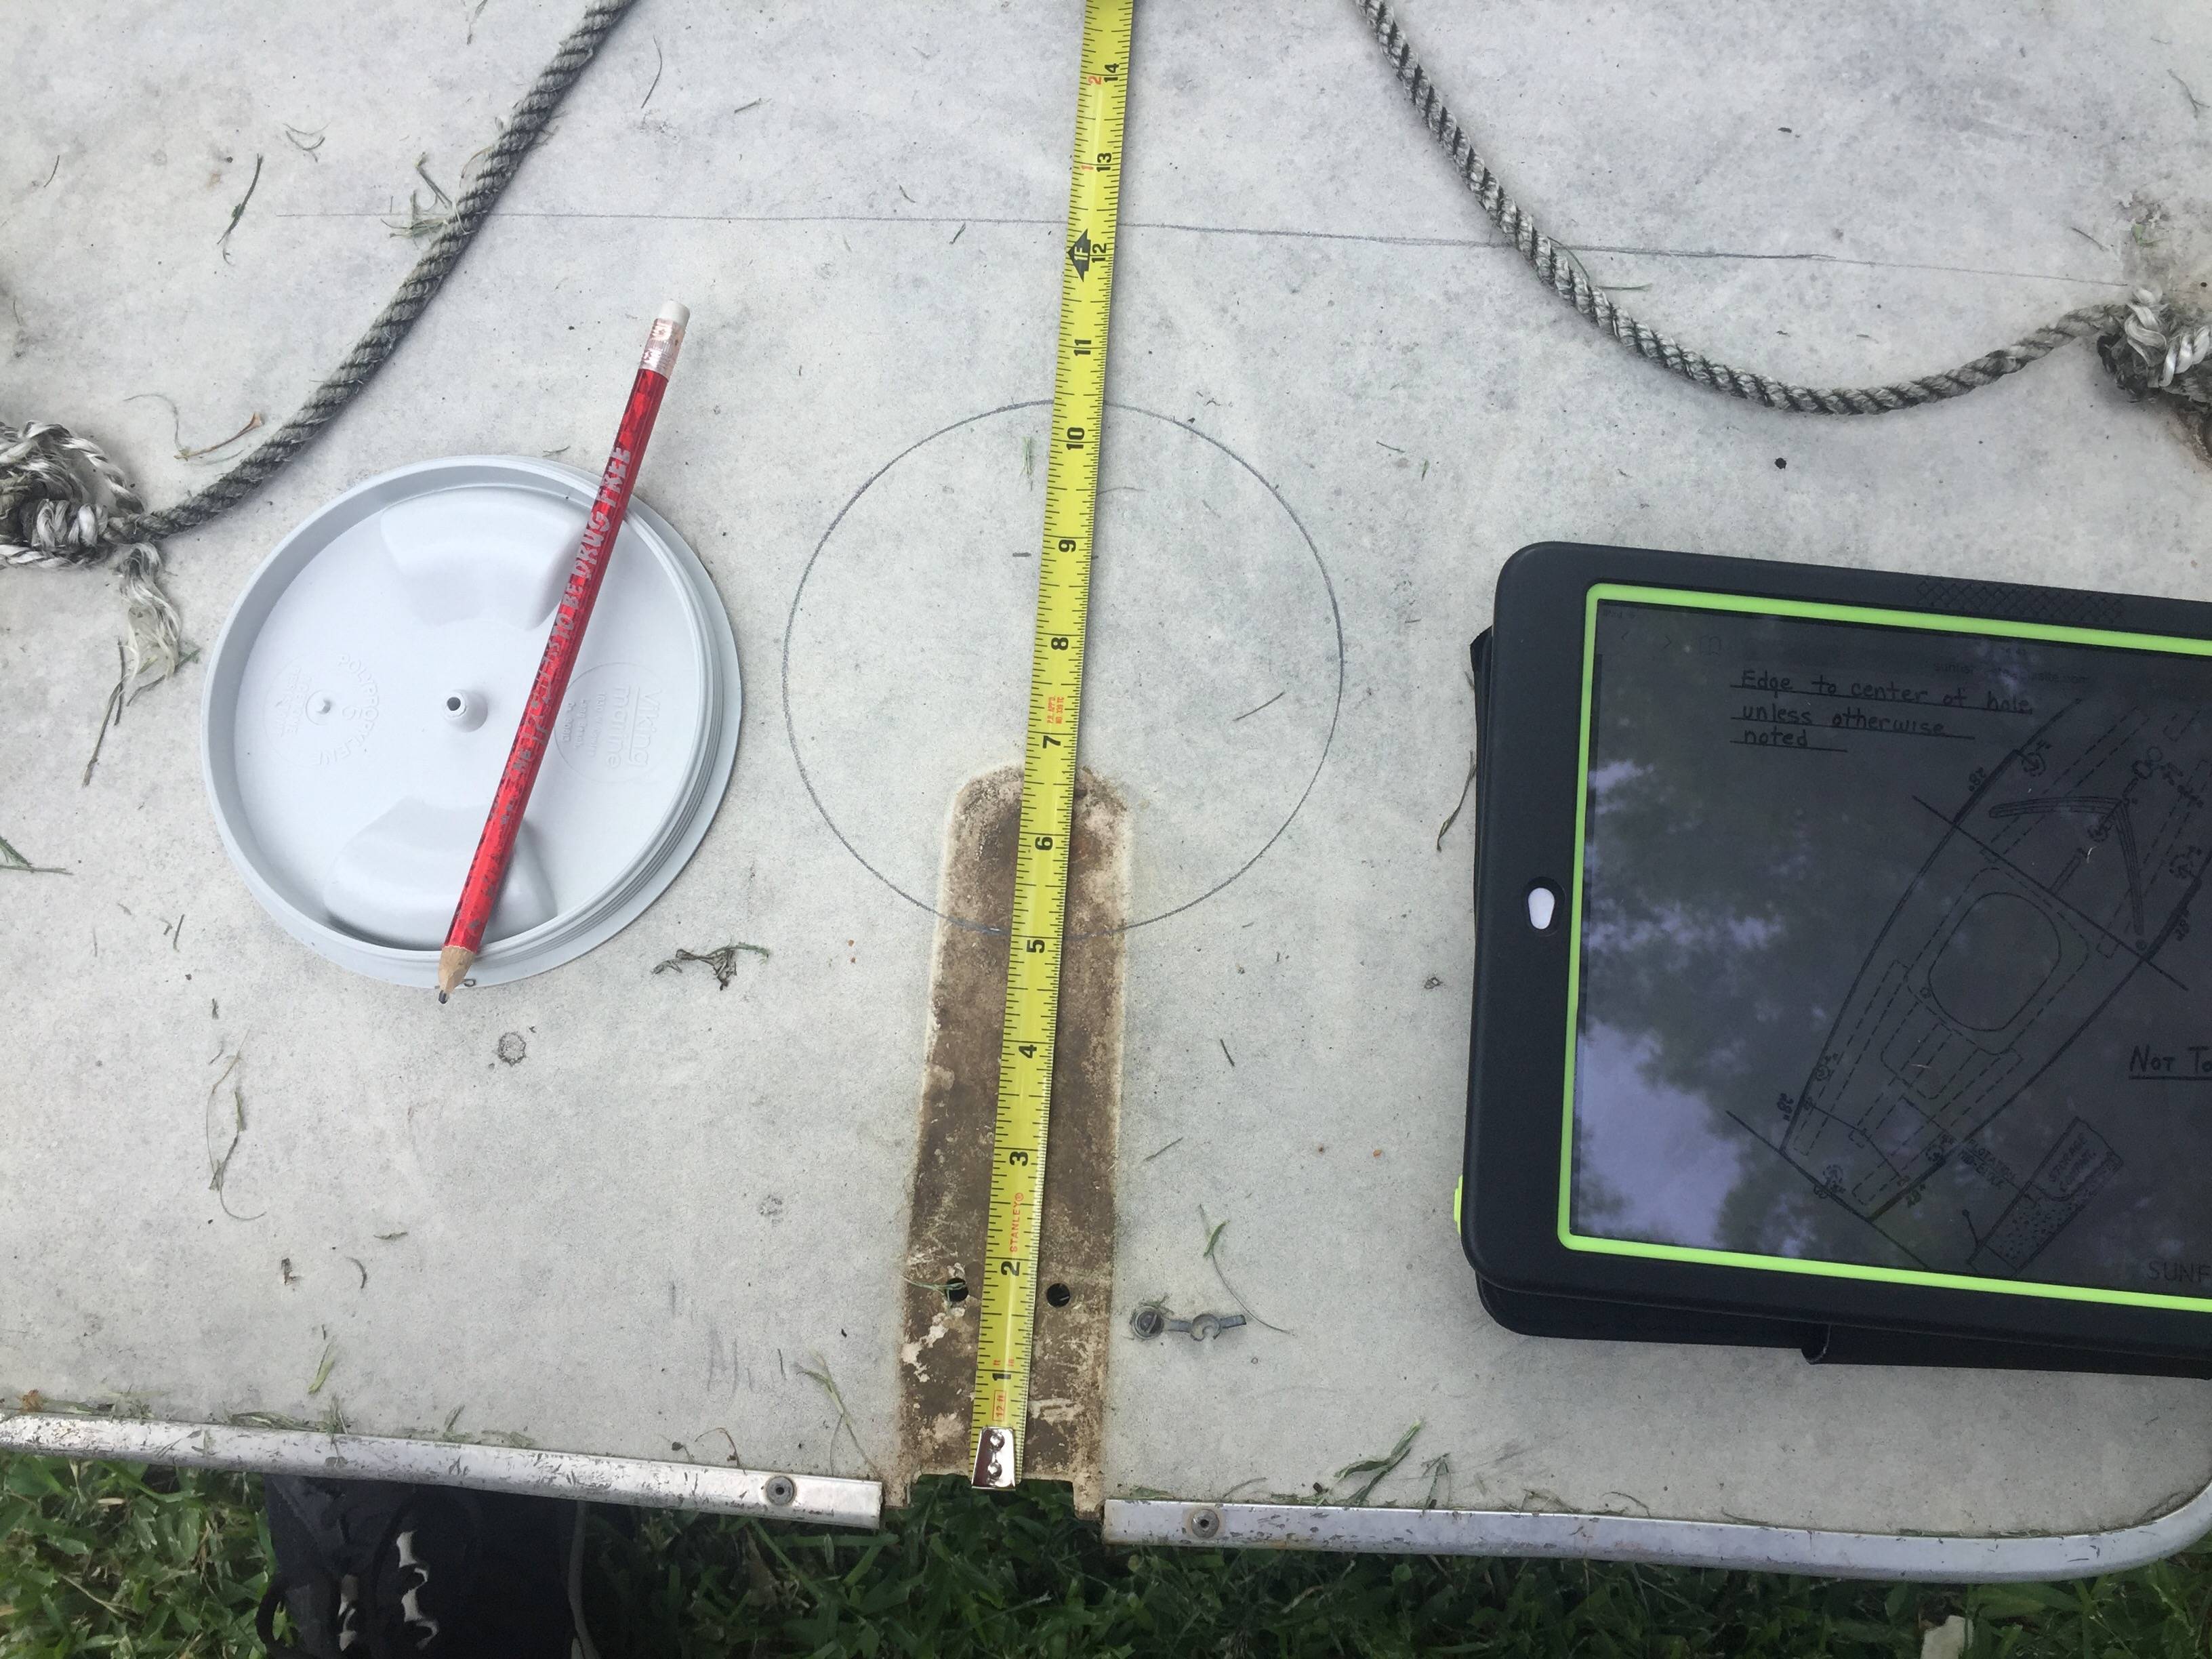
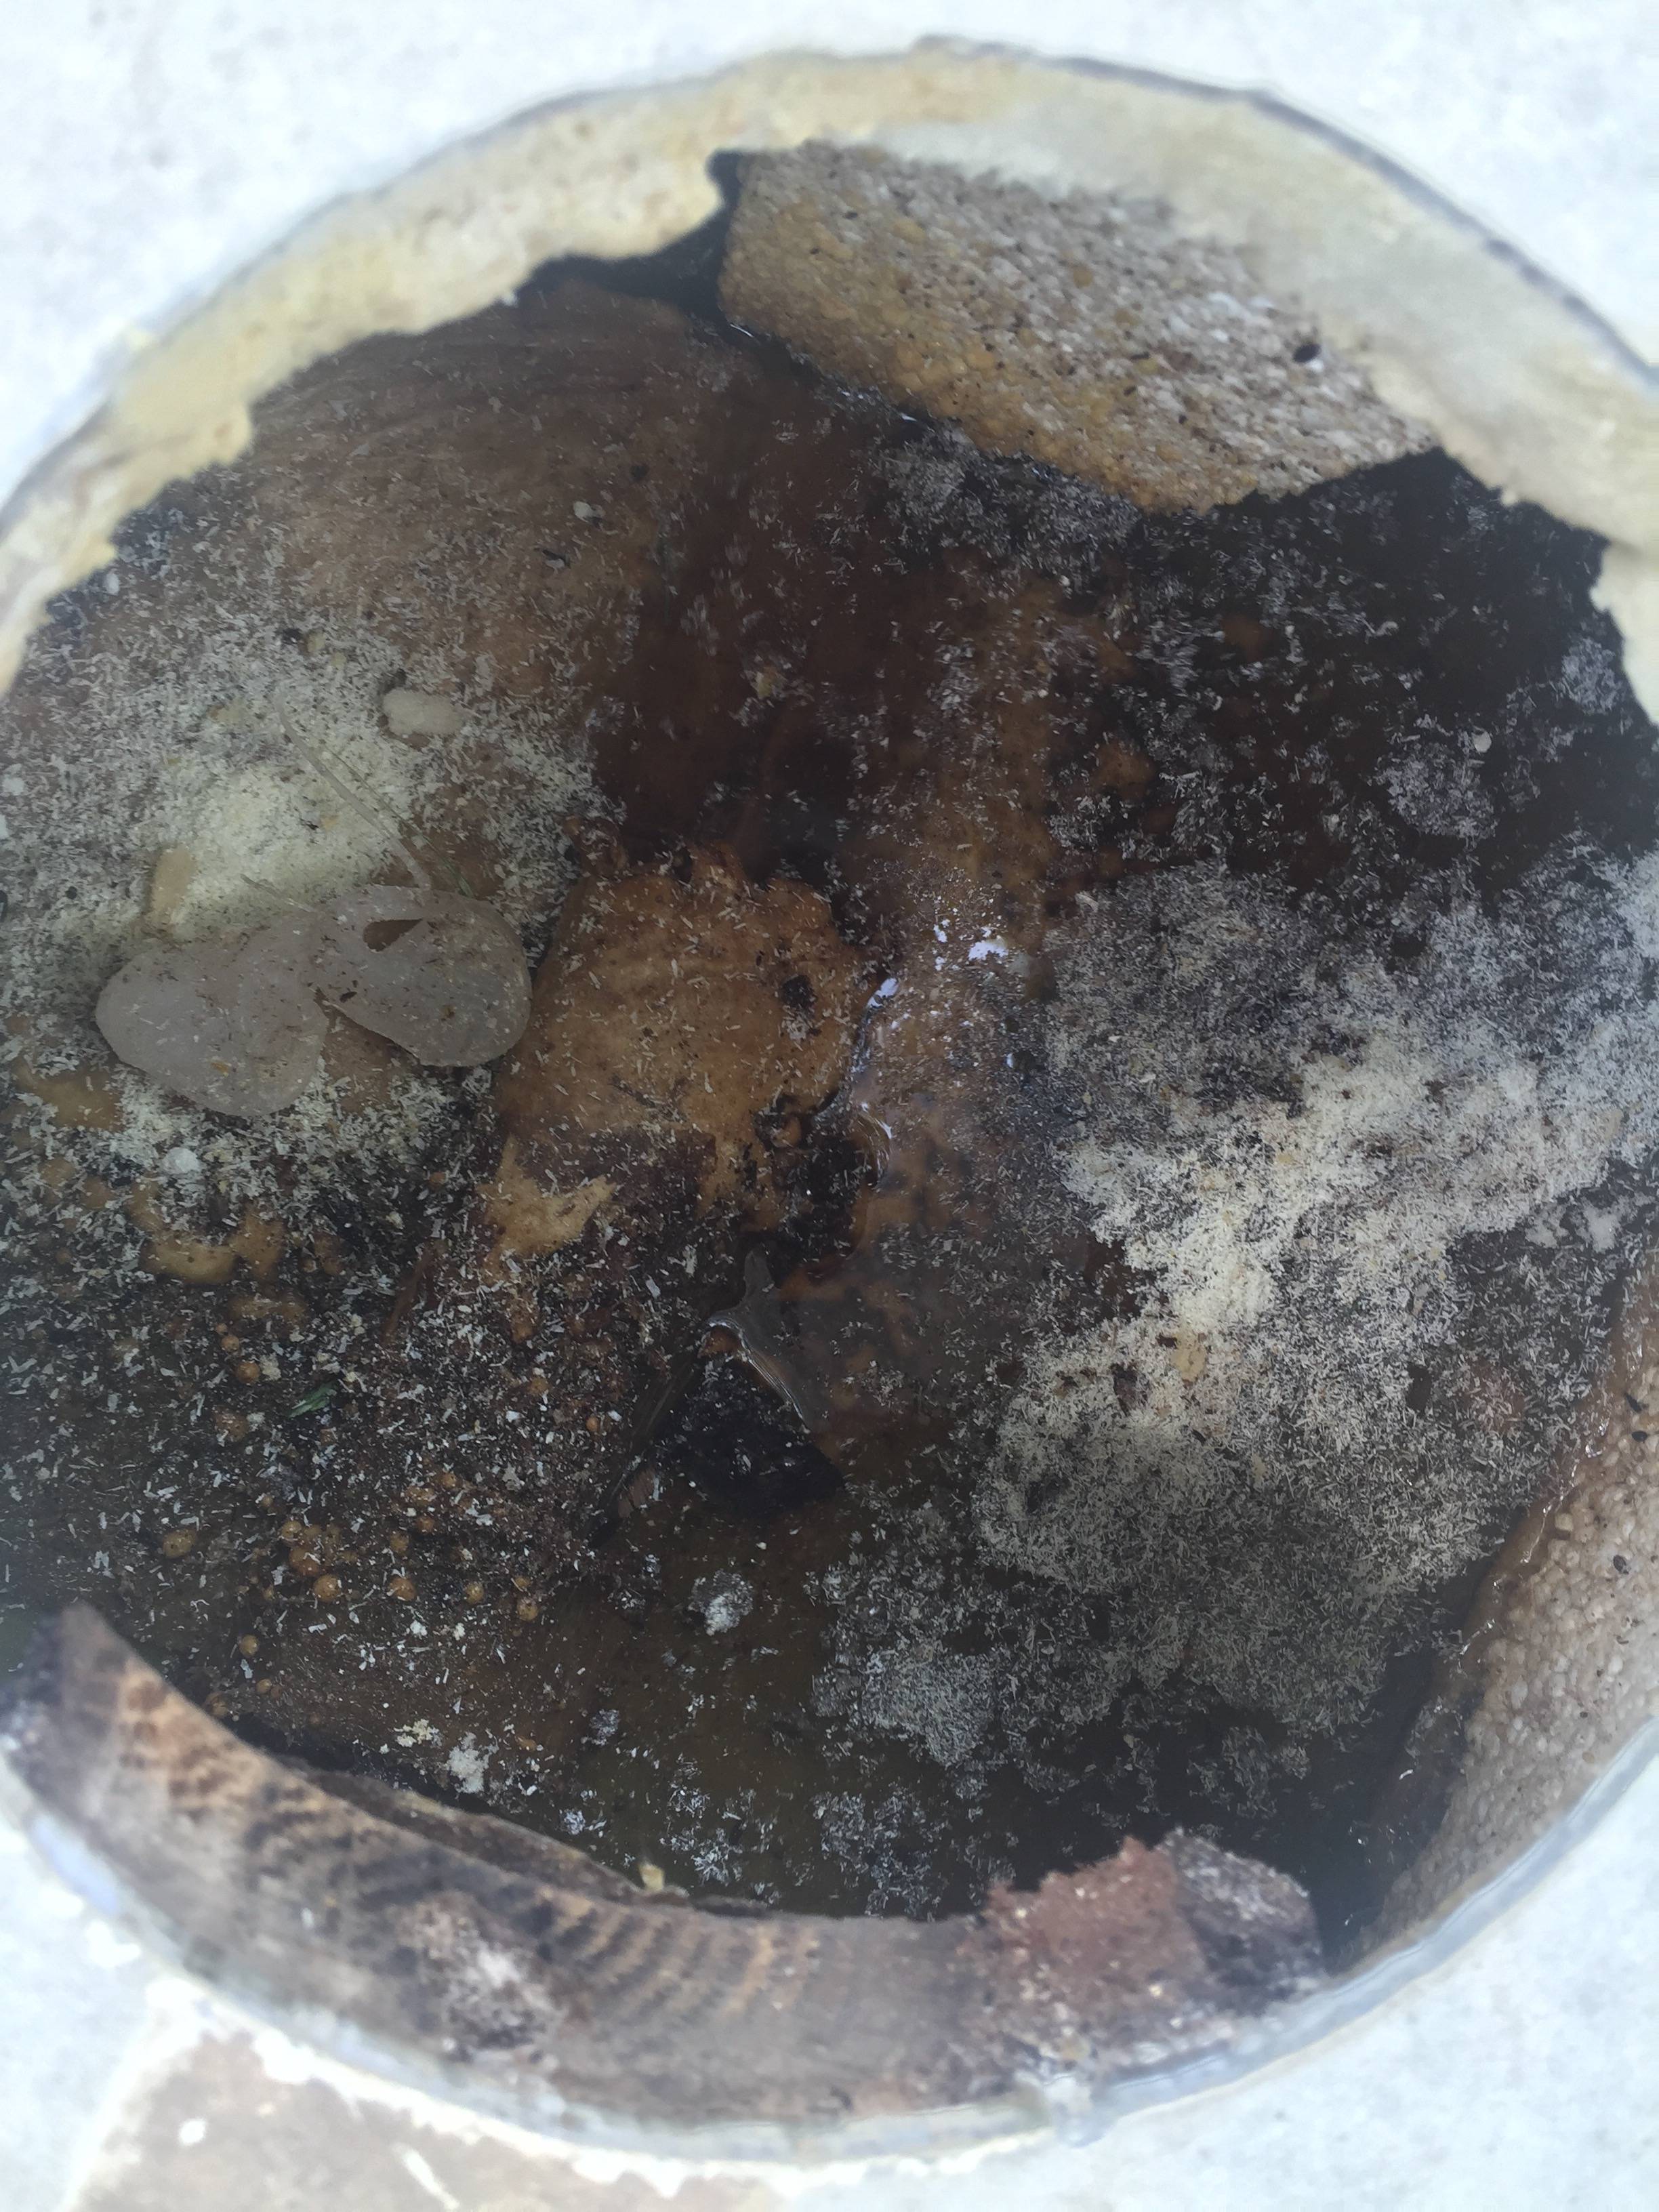
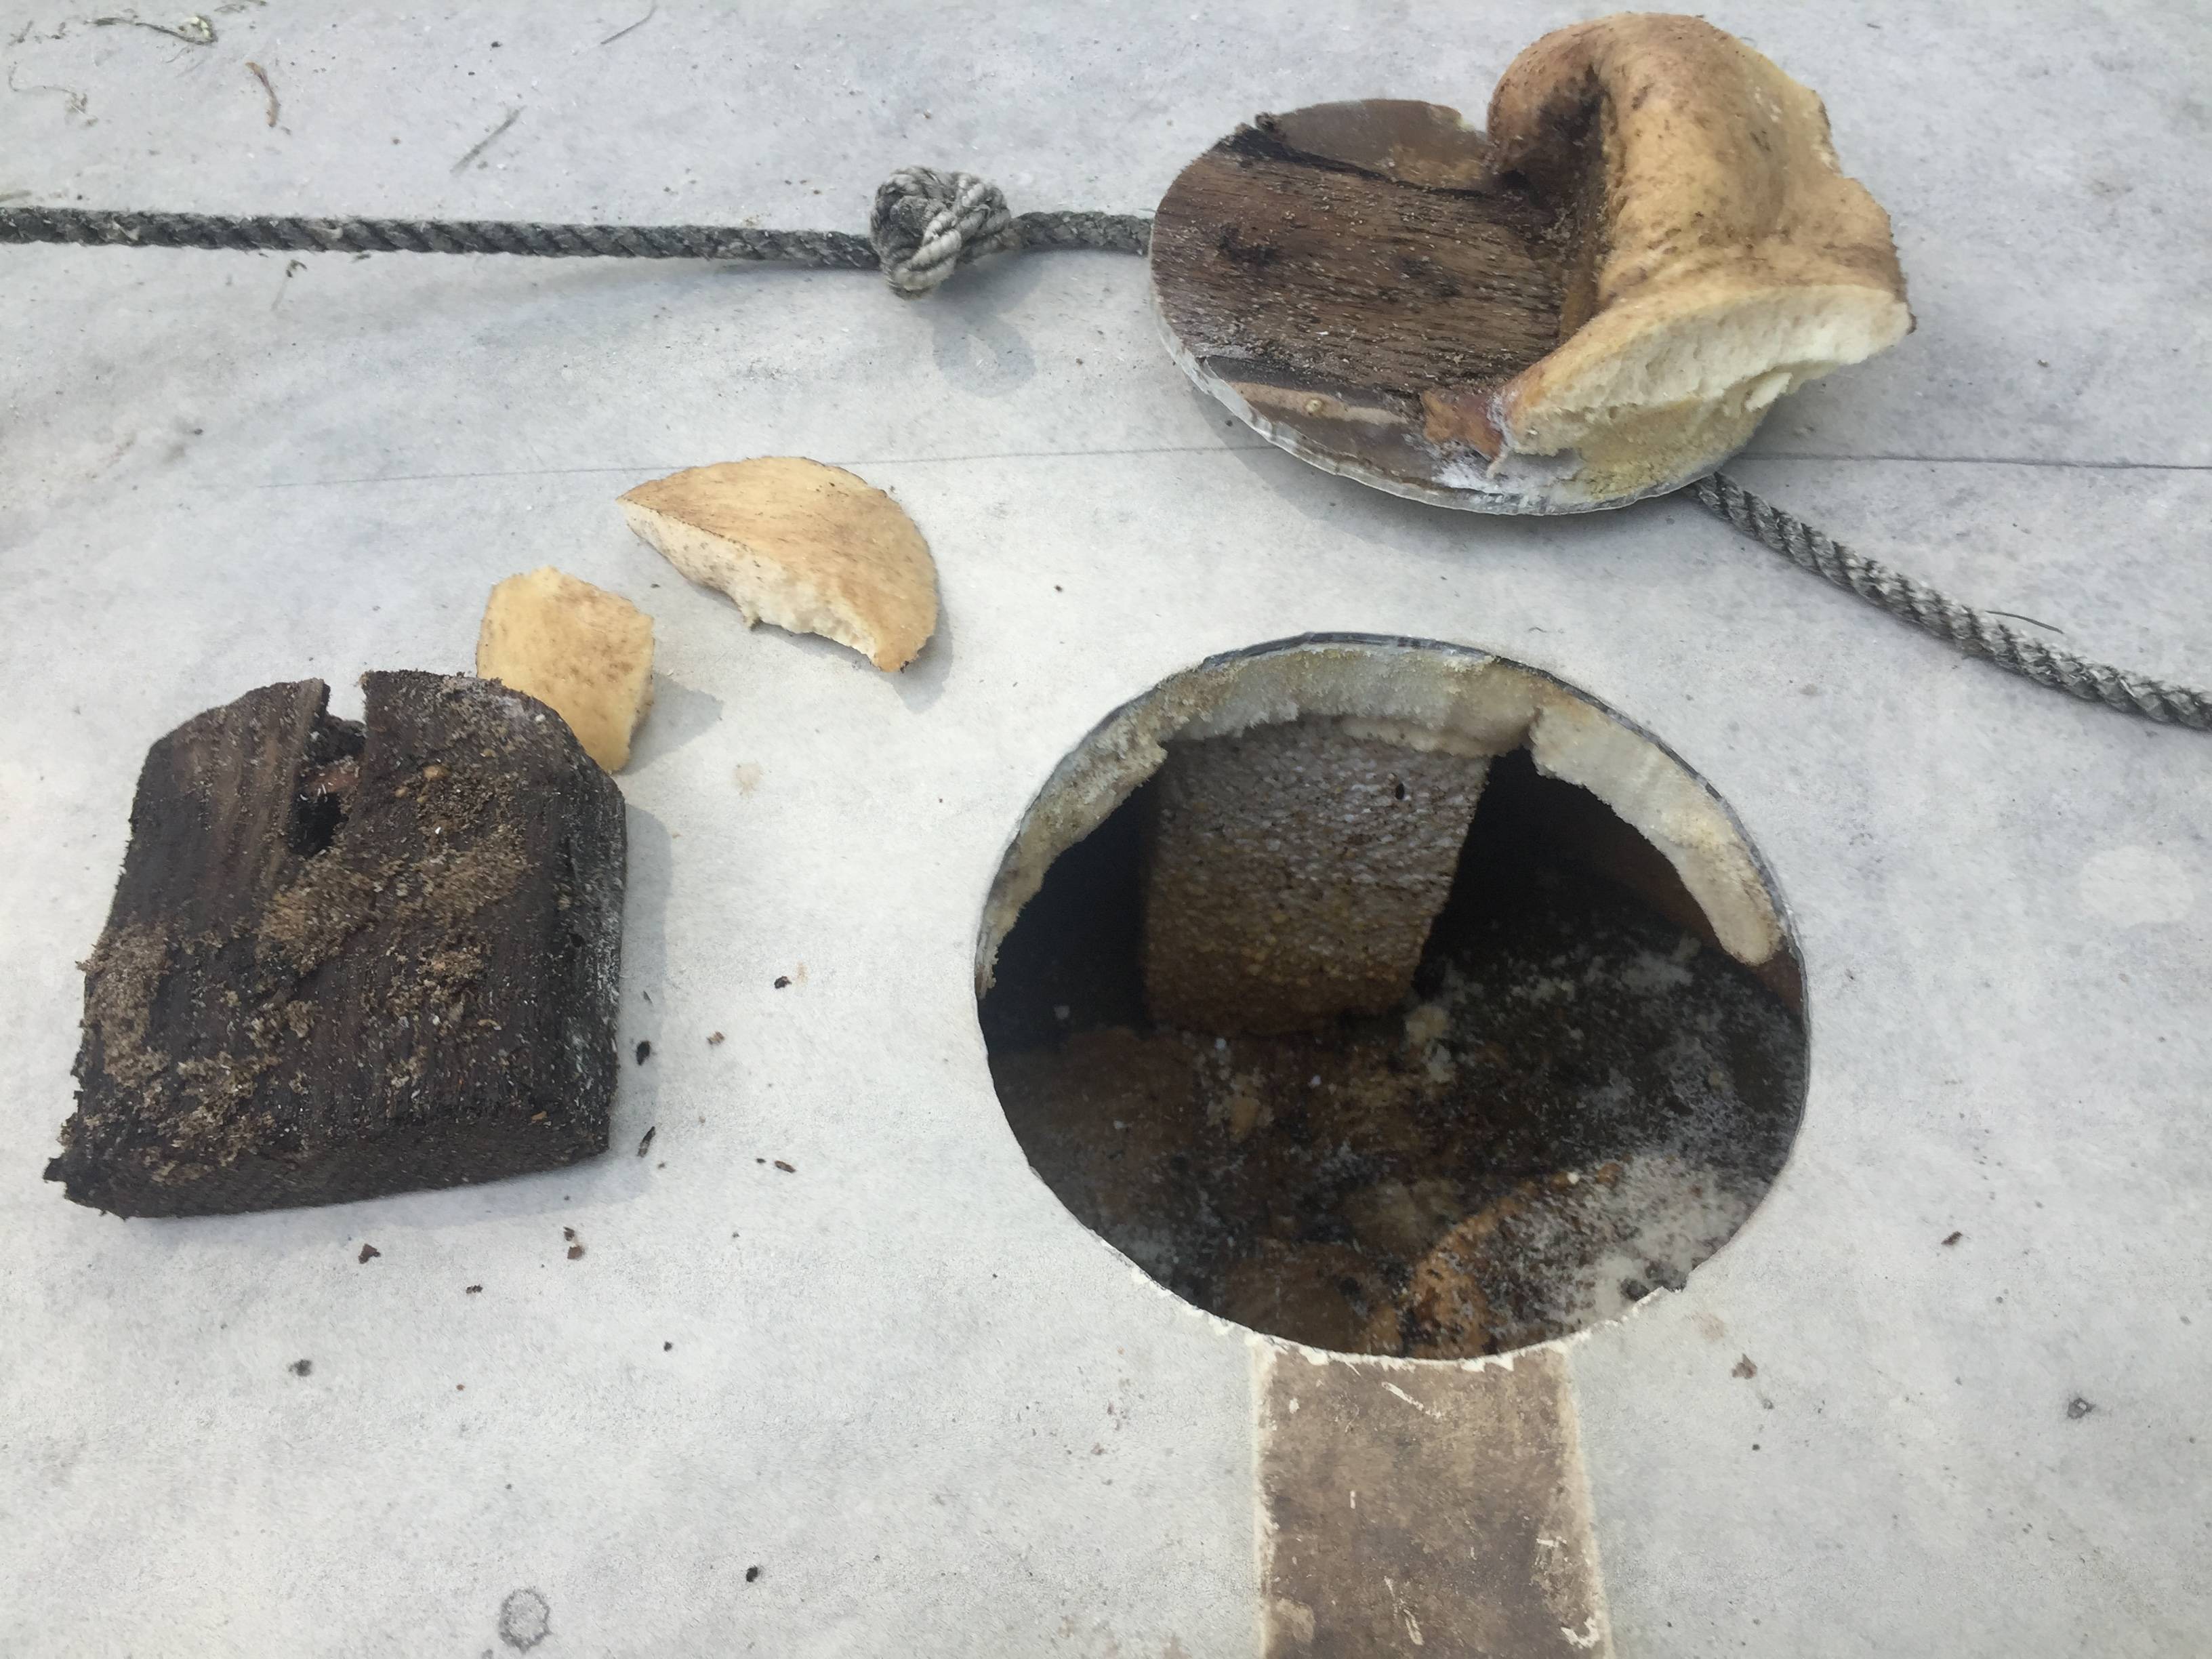
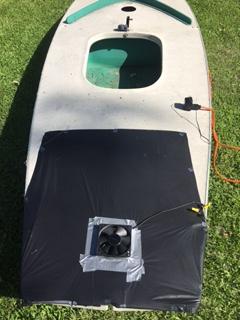
6) get the inspection ports installed and start the drying process.
7) ascertain the status of the hard ware - no sail. Mast and spars look straight. Some spar caps are missing. Rudder assebly is servaceable, but the boat is missing lower rudder plate at bottom of boat. (Maybe time for a rudder conversion!). Dagger board is split, ect.
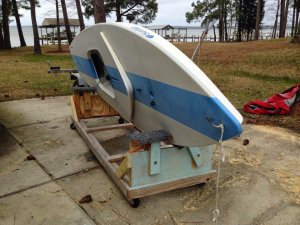
8) ascertain the status of hull integrity - Minor Scratches. Hull dings with gelcoat missing, with blackend glass showing beneath (been studying up on hull repair on this site).
9) sand, prime, sand, fare, sand, prime, sand, paint, sand paint, sand paint (as listed a bunch on this forum)
10) replace with serviceable hardware.
11) build a boat dolly for her using plans found here or around internet ( for the yearly maintenance to the garage from our dock).
There is so much more to do that I have not learned yet. Will you guys join me on this adventure and lend me your expertise as I begin this journey? (More detailed pics to follow).
Very warm regards,
Whitecap
PS- yes, our little lake, and most of Texas, is flooding!


First, let me introduce myself and say thank you, to all that have contributed so much to this site. It is truly a treasure trove of knowledge here - THANK YOU!
My name is Whitecap, and I live on a lake near Fort Worth Texas. For the past few months I have been reading as much Sunfish information as I could get hands on. This place has been instrumental in starting my journey. After learning, here, how to buy a used Sunfish, what to look for, where to look for it, (scouring the want ads, craigs list and other avenues listed on this forum) - my old neighbor down the street GAVE ME HIS OLD ONE, which has not saild in many years (sitting outside in his back yard).
Boom! Now I have a Sunfish. After a BBQ dinner at my place to say thank you, I set forth to determine the condition of the boat and start the restoration process.
In my mind the process looks like this:
1) say thank you to owner - done
2) say thank you to all here for helping me grow so much in education over the last couple of months - done
3) weigh the boat - done (it weighed in at 178 punds - my research here tells me that the foam blocks have probably absorbed 40+ lbs of water. I can hear some water sloshing around inside of her when I move her around. It surly needs to be dried out).
4) age determination? Pre 1971?
5) leak test this boat
6) get the inspection ports installed and start the drying process.
7) ascertain the status of the hard ware - no sail. Mast and spars look straight. Some spar caps are missing. Rudder assebly is servaceable, but the boat is missing lower rudder plate at bottom of boat. (Maybe time for a rudder conversion!). Dagger board is split, ect.
8) ascertain the status of hull integrity - Minor Scratches. Hull dings with gelcoat missing, with blackend glass showing beneath (been studying up on hull repair on this site).
9) sand, prime, sand, fare, sand, prime, sand, paint, sand paint, sand paint (as listed a bunch on this forum)
10) replace with serviceable hardware.
11) build a boat dolly for her using plans found here or around internet ( for the yearly maintenance to the garage from our dock).
There is so much more to do that I have not learned yet. Will you guys join me on this adventure and lend me your expertise as I begin this journey? (More detailed pics to follow).
Very warm regards,
Whitecap
PS- yes, our little lake, and most of Texas, is flooding!
Last edited:
")
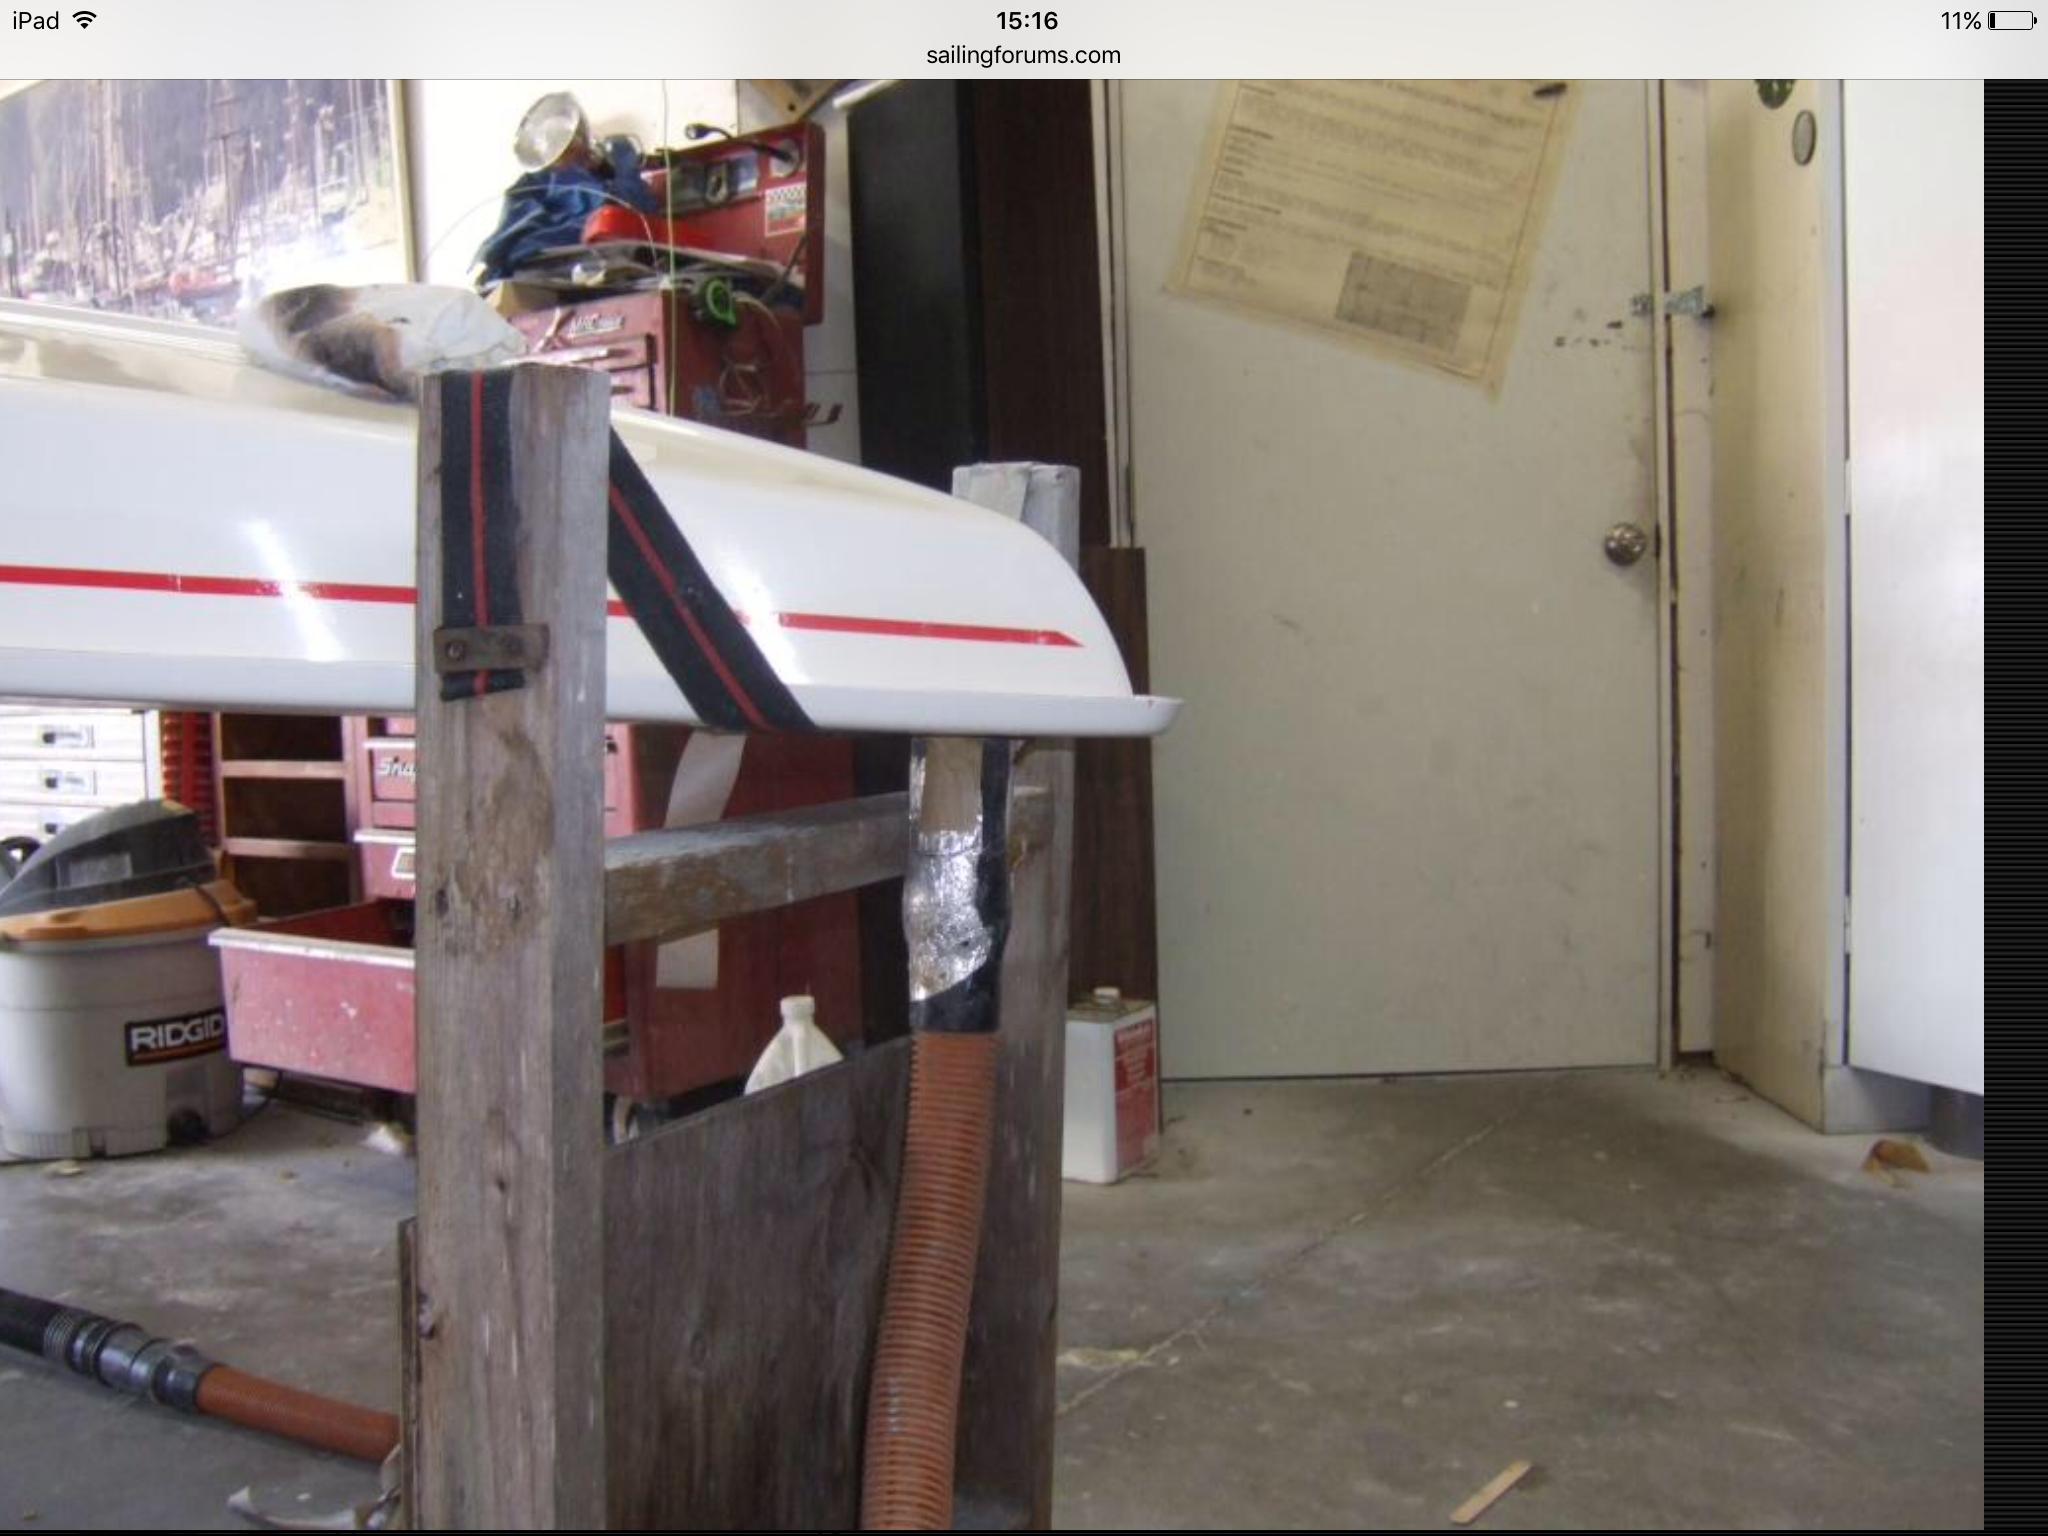

 I rescued a yellow 30-foot truck load-securing belt from the roadside. It is about 8" wide. (!) Also inherited a 4" cotton belt from my Grandfather, but used the "fat" nylon line because it was within a few feet of me when it came time to work. A few clove-hitches later, and the repair started—positioning the work-piece in a stable manner—and was able to re-use the lines later.

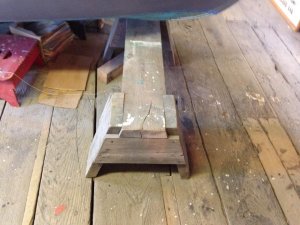
 extensive) keel repair.
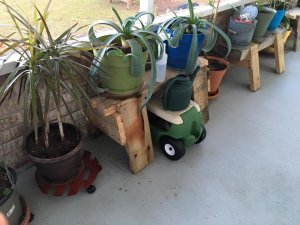

") advise to wait 24 hours before stressing the repair, so buying the slow-setting epoxy seems like the right choice.
advise to wait 24 hours before stressing the repair, so buying the slow-setting epoxy seems like the right choice.