
NightSailor
Captain
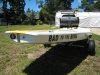
I've been working on DIXIE, a Sunfish that was given to me by a nice couple from my yacht club. I hope to return the favor at some point.
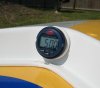
It is a nice looking grey on grey boat with blue stripes. Yesterday I installed a hiking strap, drain plug, inspection port/bottleport, harken 205 swivel base, and a stand up ratchet block. I have a nicer Sunfish, but I am very fond of this boat because of the color combination.
The boat had suffered some impact damage to the port bow. I started repairs on that area too. More on that below.
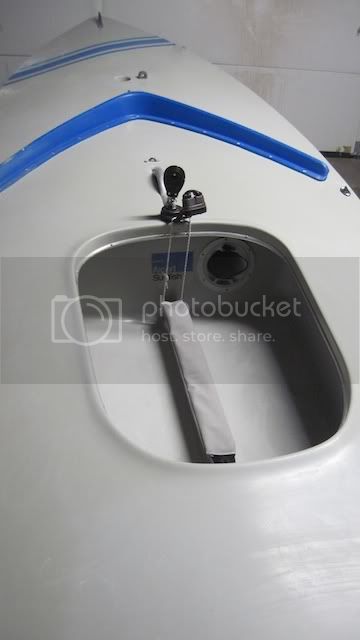
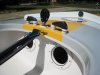
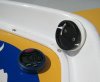
Here is the new look for the Cockpit:
I really like the gray theme. The coaming is in nice shape also.
After removing the rub rail, I could see the original color. I want to bring it back to that. I spent a lot of time buffing the hull, and I'm still not satisfied. I wet-sanded a few spots with 400 grit sandpaper. There are marks in the usual places--tiller rash on the afterdeck and spar rash on the foredeck--nothing horrible. Tomorrow, I'm going to sand it again with 800 grit and then compound it. I don't want to spend forever on the deck as I have other boats to work on, so we'll see how that comes out. I have a power buffer, but it does not seem to work all that well. I'm going to try a different compounding agent next time.
Impact Damage:
The other issue was the impact damaged area. I could not tell how bad the damage was until I removed the silicone sealer that was smeared everywhere. The damage consists of one small crack on the deck--smaller than I expected.
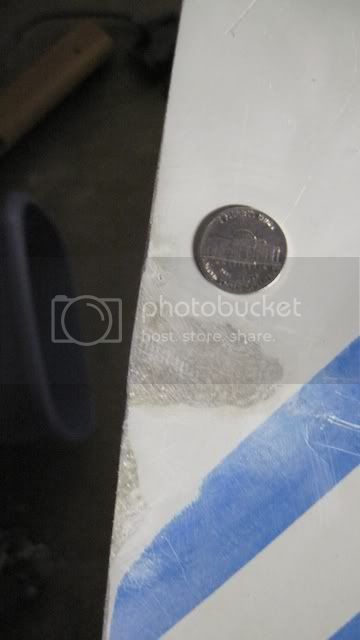
I did not want to make a huge repair. I wanted to preserve the blue stripe as much as possible, and so I chose to use my dremel tool to open up the area, and then made a small patch with three layers of fiberglass cloth. I did not follow the 12:1 rule on the bevel, but this is a small crack and close to the edge, unlikely to be stressed. the bevel was more like 8:1--plenty for this situation. The original crack was just about entirely through the deck with a length of about 1 inch. A proper patch would have been about 1/2" bigger all the way around.
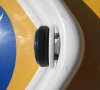
Here one shot after the patch was sanded [below], with a nickel for size comparison. It will not need fairing and is ready for gelcoat.
Now for the more serious damage. The hull/deck joint:
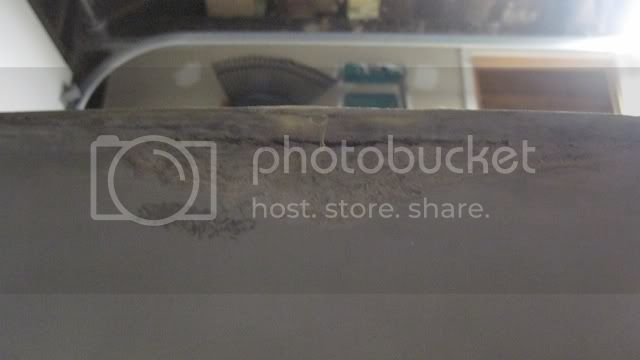
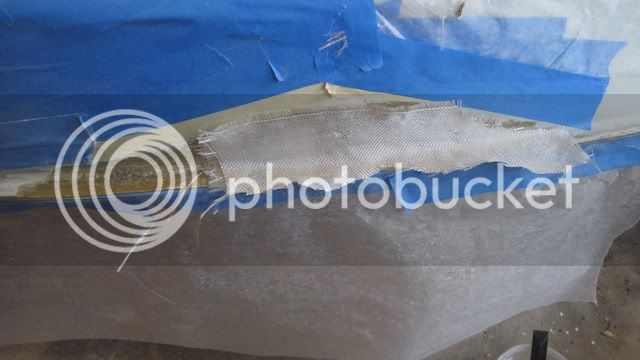
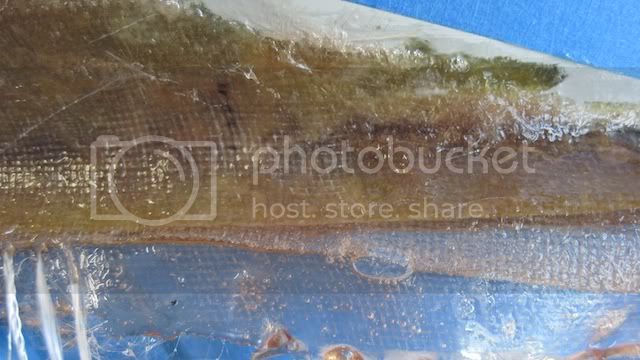
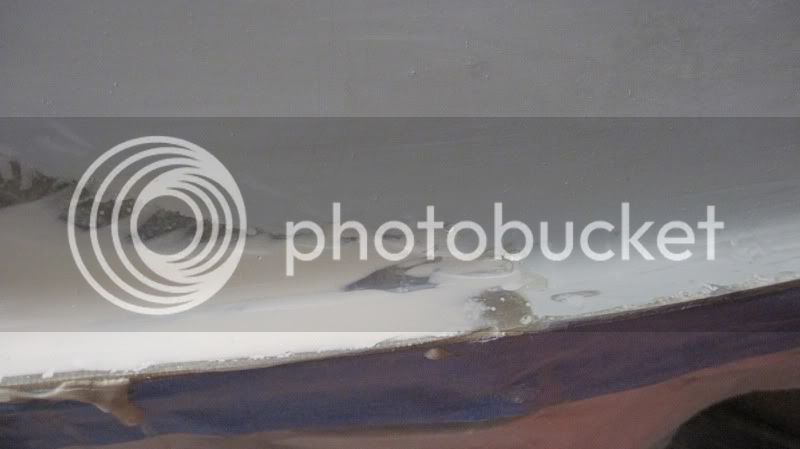
Here is the topsides of the damaged area showing the silicone sealant partly scraped away. I used a slightly dull chisel to scrape it and later used a power sander.
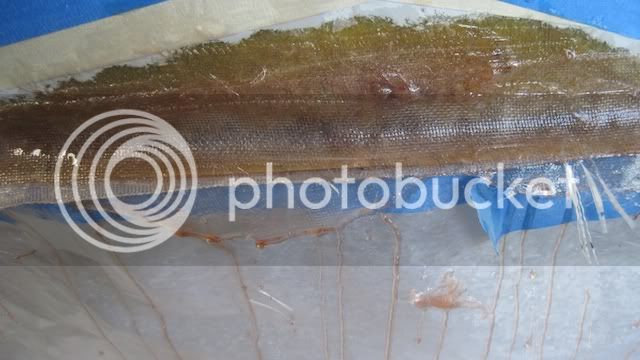
Below is a similar view with the silicone mostly sanded off. Note the cracked area in the middle. The fiberglass has delaminated from the impact down to about there.
In the above picture you can see I took off a little too much gelcoat in one spot trying to sand the last of the silicone off. However, this is right next to the spot that was delaminated.
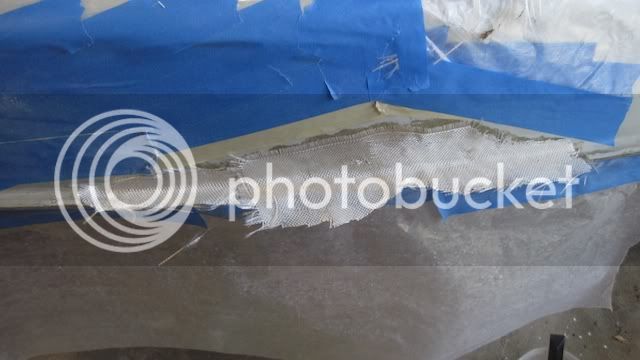
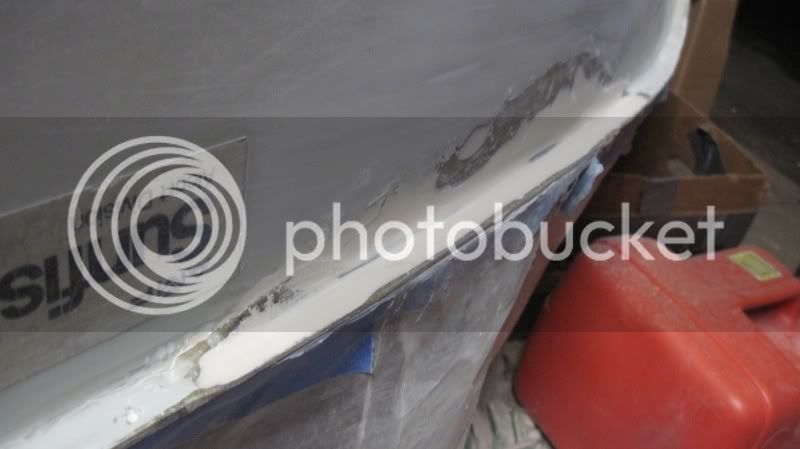
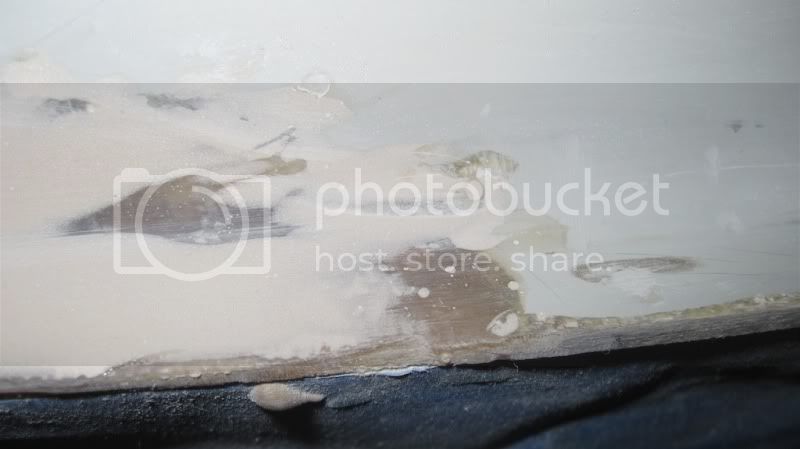
I used my dremel tool to cut away most of the fiberglass that was delaminated, leaving the last layer for support of the new layup I have planned. To make this strong I'll have to turn the corner and bond to the deck. I may have to remove a bit more fiberglass, it appears to be delaminated more than is revealed here.
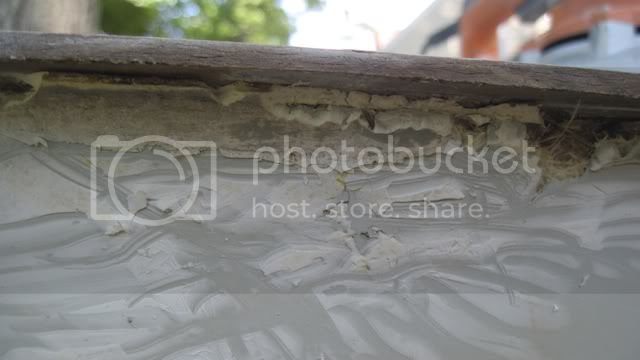
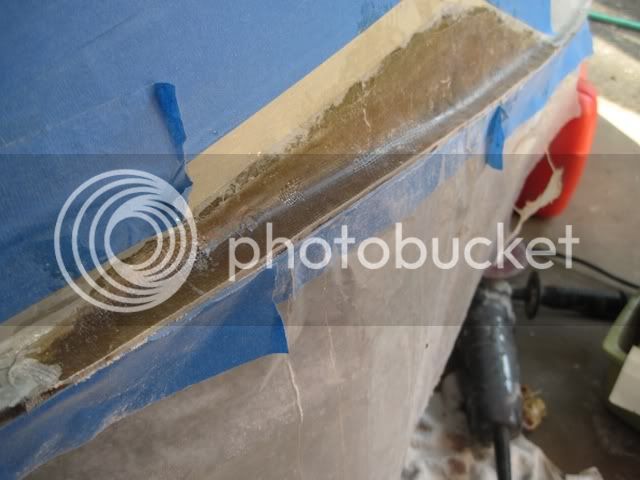
Note, I removed about 1/2 the thickness of the flange [below], so that my layers of fiberglass wrapping around this 90 degree inside corner won't make the flange too thick when done. I will have to fit the rub rail back on when completed, so this flange must be returned to the original thickness.
Note this photo was taken from a greater distance than the other--look on the left side to get an idea of the old flange thickness.
I used a drum disk on my dremel spinning perpendicular to the topsides to cut the thickness in half, and then used the curve of the spinning drum to round the inside corner to a smooth radius for the upcoming layup. I think three layers of cloth, with a fourth thinner strip on the inside corner will make a very strong repair.
Fortunately most of the damage was localized. Only directly at the joint is there an opening. I should be able to apply a patch that will need minimal sanding. With any luck I won't need any fairing. I may try and apply the patch and then mix my remaining epoxy with West Systems 410 on top so that I'll be able to apply both at once so I can later do sanding and gelcoat at one time in the next step and wrap this job up in a few days. Thankfully, gray should be somewhat easy to match. It is just black tint right? Or is there some blue in that gray? Oh well, I don't care if the color match is perfect, I'll be putting a graphic and a name in this area and most of the repair will be out of sight.
Despite my best efforts of masking the area off. The wind blew some dripping epoxy on the topsides, so hopefully that will sand off without damaging the gelcoat.
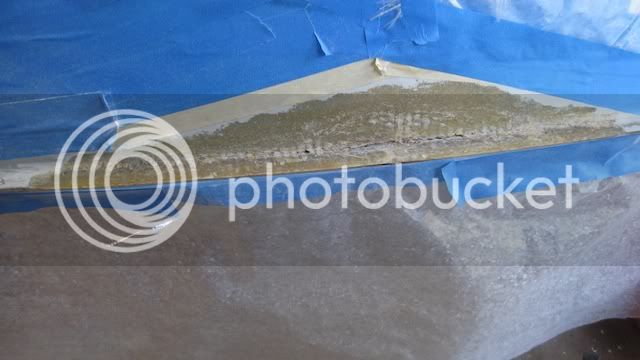
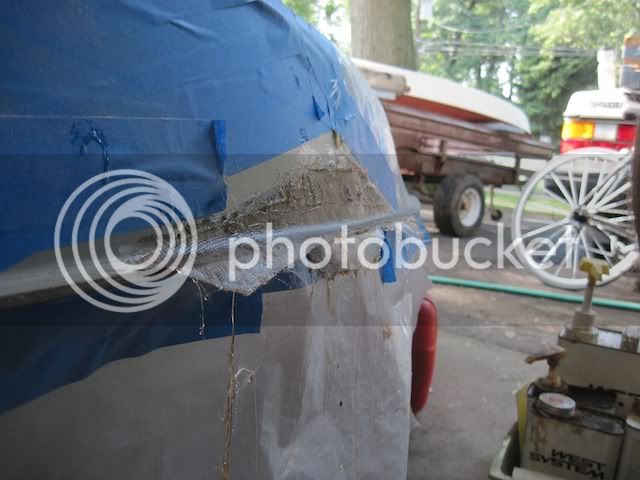
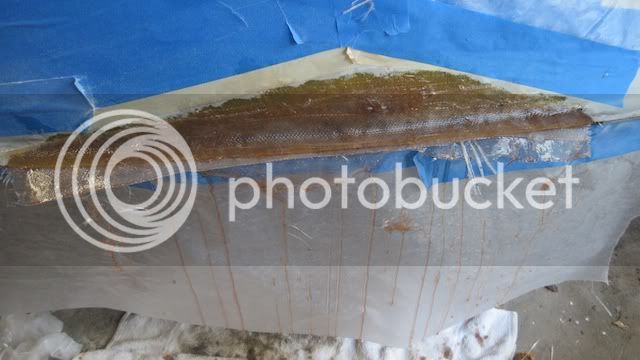
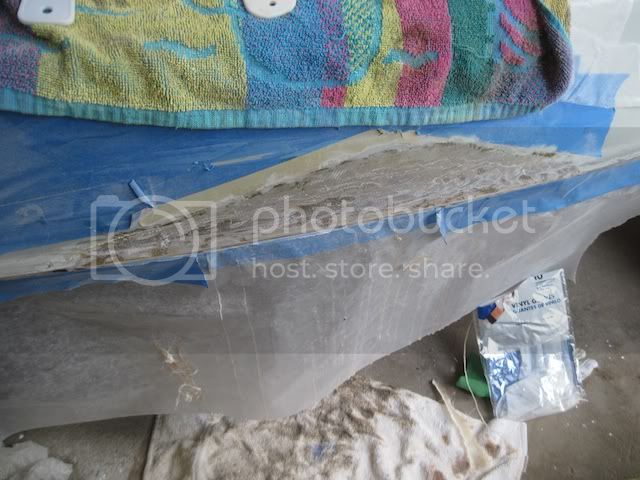
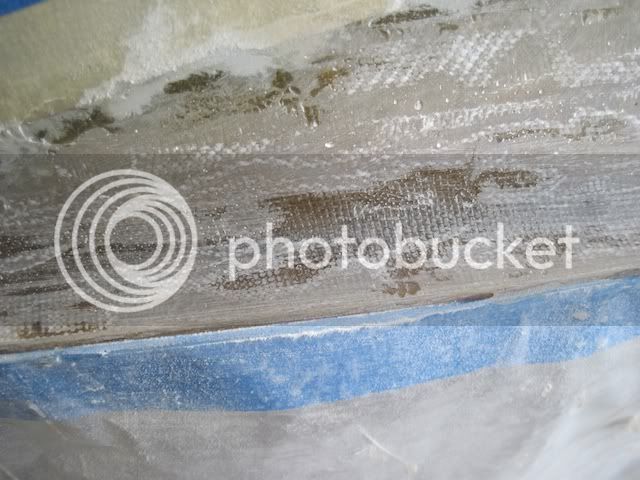
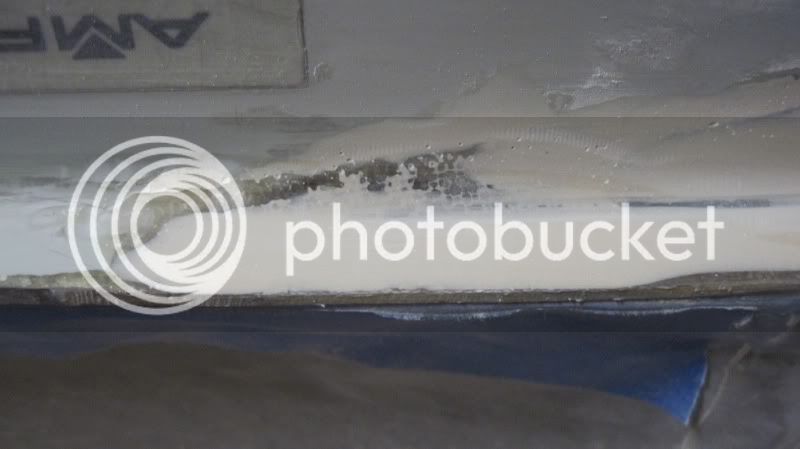
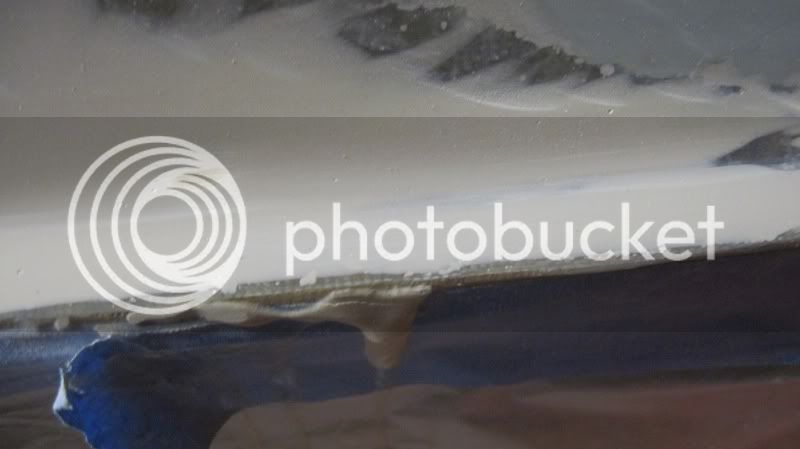
My final effort [below] was to seal a crack in the aft starboard corner. This boat was stored outside for 15 years. It's aft end saw horse broke, tilting the boat with the aft end down. Water accumulated in this corner. Freezing action split the hull deck joint.
I painted the crack with epoxy and brushed it in for penetration, followed by some West Systems 403 thickener, which doesn't drip. I forced that into the cracks with a plastic spackle type blade. Here is an after shot. I plan to sand the edge smooth and hope the sealing job went well. If not I'll try it again with some vacuum applied to suck in the epoxy.
The pictures shows the wax paper I used to mask off the area. The epoxy was applied to the edge of the lip [the dark horizontal line], and around the aft corner.
It is a nice looking grey on grey boat with blue stripes. Yesterday I installed a hiking strap, drain plug, inspection port/bottleport, harken 205 swivel base, and a stand up ratchet block. I have a nicer Sunfish, but I am very fond of this boat because of the color combination.
The boat had suffered some impact damage to the port bow. I started repairs on that area too. More on that below.
Here is the new look for the Cockpit:
I really like the gray theme. The coaming is in nice shape also.
After removing the rub rail, I could see the original color. I want to bring it back to that. I spent a lot of time buffing the hull, and I'm still not satisfied. I wet-sanded a few spots with 400 grit sandpaper. There are marks in the usual places--tiller rash on the afterdeck and spar rash on the foredeck--nothing horrible. Tomorrow, I'm going to sand it again with 800 grit and then compound it. I don't want to spend forever on the deck as I have other boats to work on, so we'll see how that comes out. I have a power buffer, but it does not seem to work all that well. I'm going to try a different compounding agent next time.
Impact Damage:
The other issue was the impact damaged area. I could not tell how bad the damage was until I removed the silicone sealer that was smeared everywhere. The damage consists of one small crack on the deck--smaller than I expected.
I did not want to make a huge repair. I wanted to preserve the blue stripe as much as possible, and so I chose to use my dremel tool to open up the area, and then made a small patch with three layers of fiberglass cloth. I did not follow the 12:1 rule on the bevel, but this is a small crack and close to the edge, unlikely to be stressed. the bevel was more like 8:1--plenty for this situation. The original crack was just about entirely through the deck with a length of about 1 inch. A proper patch would have been about 1/2" bigger all the way around.
Here one shot after the patch was sanded [below], with a nickel for size comparison. It will not need fairing and is ready for gelcoat.
Now for the more serious damage. The hull/deck joint:
Here is the topsides of the damaged area showing the silicone sealant partly scraped away. I used a slightly dull chisel to scrape it and later used a power sander.
Below is a similar view with the silicone mostly sanded off. Note the cracked area in the middle. The fiberglass has delaminated from the impact down to about there.
In the above picture you can see I took off a little too much gelcoat in one spot trying to sand the last of the silicone off. However, this is right next to the spot that was delaminated.
I used my dremel tool to cut away most of the fiberglass that was delaminated, leaving the last layer for support of the new layup I have planned. To make this strong I'll have to turn the corner and bond to the deck. I may have to remove a bit more fiberglass, it appears to be delaminated more than is revealed here.
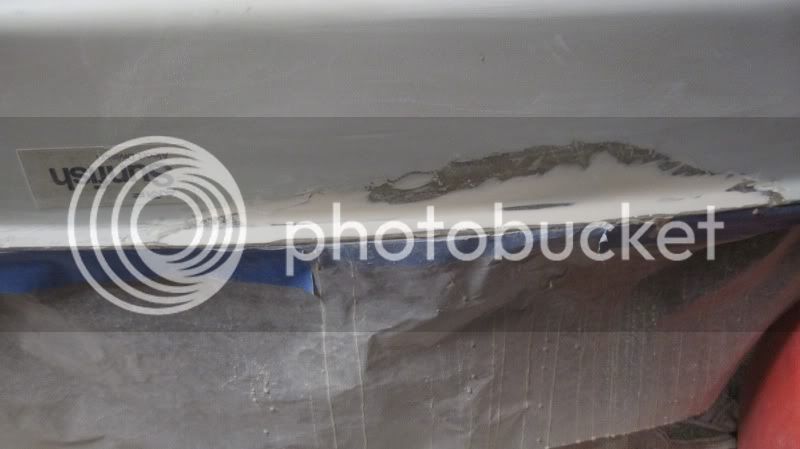
Note, I removed about 1/2 the thickness of the flange [below], so that my layers of fiberglass wrapping around this 90 degree inside corner won't make the flange too thick when done. I will have to fit the rub rail back on when completed, so this flange must be returned to the original thickness.
Note this photo was taken from a greater distance than the other--look on the left side to get an idea of the old flange thickness.
I used a drum disk on my dremel spinning perpendicular to the topsides to cut the thickness in half, and then used the curve of the spinning drum to round the inside corner to a smooth radius for the upcoming layup. I think three layers of cloth, with a fourth thinner strip on the inside corner will make a very strong repair.
Fortunately most of the damage was localized. Only directly at the joint is there an opening. I should be able to apply a patch that will need minimal sanding. With any luck I won't need any fairing. I may try and apply the patch and then mix my remaining epoxy with West Systems 410 on top so that I'll be able to apply both at once so I can later do sanding and gelcoat at one time in the next step and wrap this job up in a few days. Thankfully, gray should be somewhat easy to match. It is just black tint right? Or is there some blue in that gray? Oh well, I don't care if the color match is perfect, I'll be putting a graphic and a name in this area and most of the repair will be out of sight.
Despite my best efforts of masking the area off. The wind blew some dripping epoxy on the topsides, so hopefully that will sand off without damaging the gelcoat.
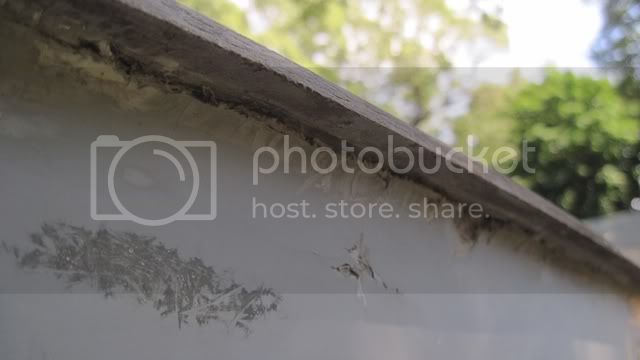
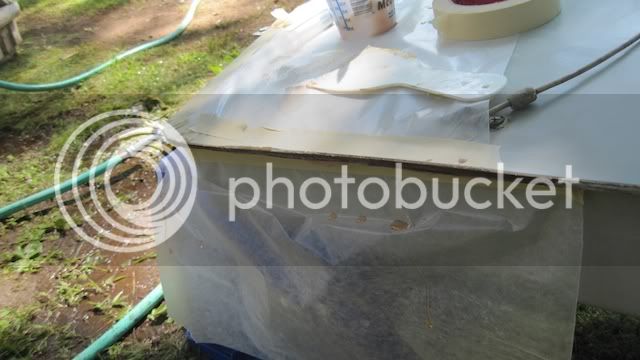
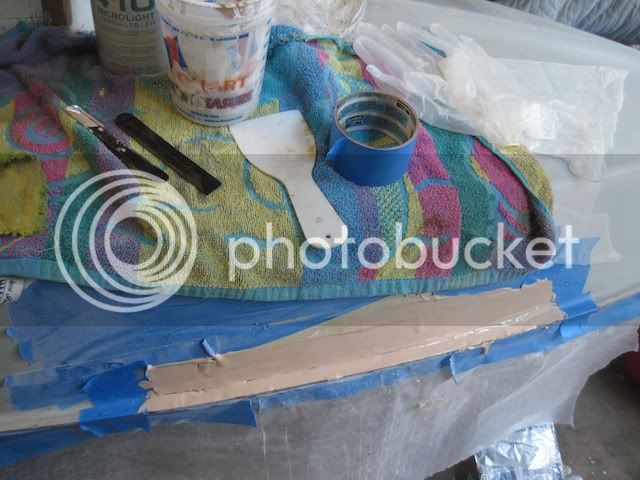
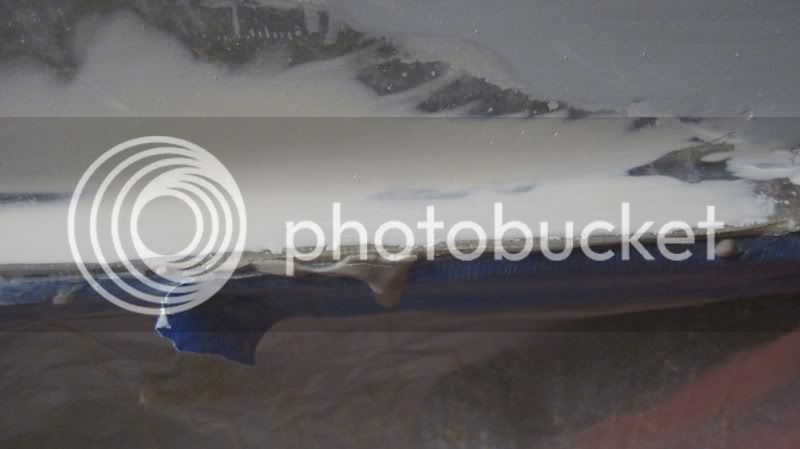
My final effort [below] was to seal a crack in the aft starboard corner. This boat was stored outside for 15 years. It's aft end saw horse broke, tilting the boat with the aft end down. Water accumulated in this corner. Freezing action split the hull deck joint.
I painted the crack with epoxy and brushed it in for penetration, followed by some West Systems 403 thickener, which doesn't drip. I forced that into the cracks with a plastic spackle type blade. Here is an after shot. I plan to sand the edge smooth and hope the sealing job went well. If not I'll try it again with some vacuum applied to suck in the epoxy.
The pictures shows the wax paper I used to mask off the area. The epoxy was applied to the edge of the lip [the dark horizontal line], and around the aft corner.


") )
)
")