papa barry
New Member
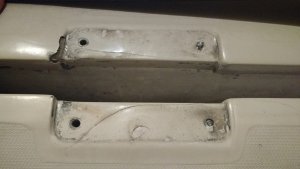
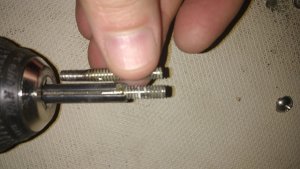
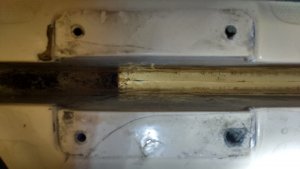
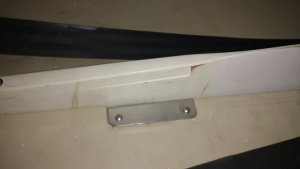
I purchased an older Capri 14. One of the mounting screws for the pivot bracket is broken. Does anyone know if these screws fasten to individual embedded nuts or is there an embedded plate with two threaded holes?
Follow along with the video below to see how to install our site as a web app on your home screen.

Note: This feature currently requires accessing the site using the built-in Safari browser.
Call Catalina Tech Support @ 916-843-1971. They're a great resource for questions like yours...........I purchased an older Capri 14. One of the mounting screws for the pivot bracket is broken. Does anyone know if these screws fasten to individual embedded nuts or is there an embedded plate with two threaded holes?