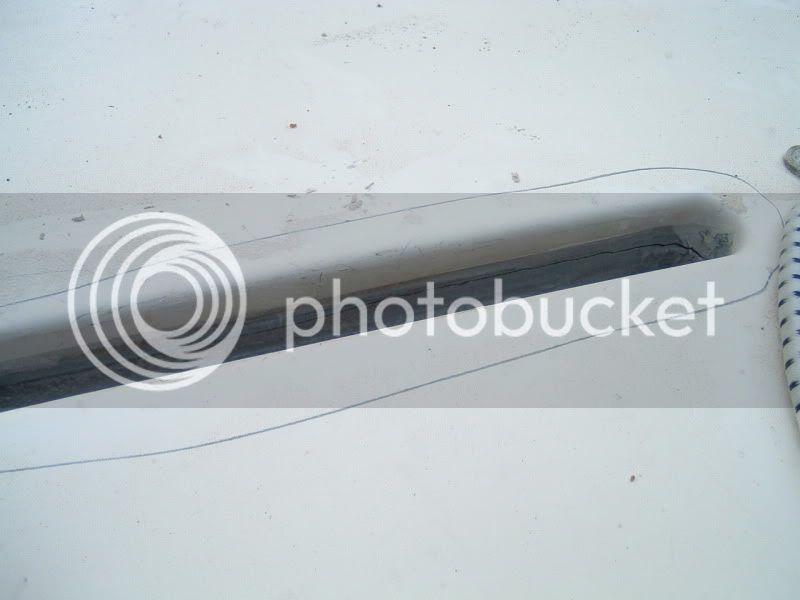
I confirmed in the last few days that my boat is quite a leaker - about 1.5" in 30 minutes.  I did a leak test today (not as hard as I thought) and discovered the leaks are all around the top of the daggerboard trunk and around the bailer.
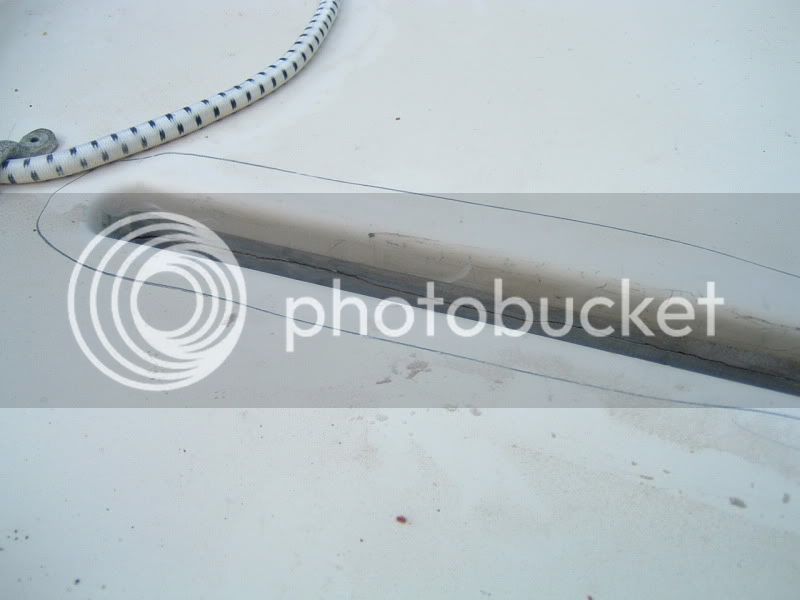
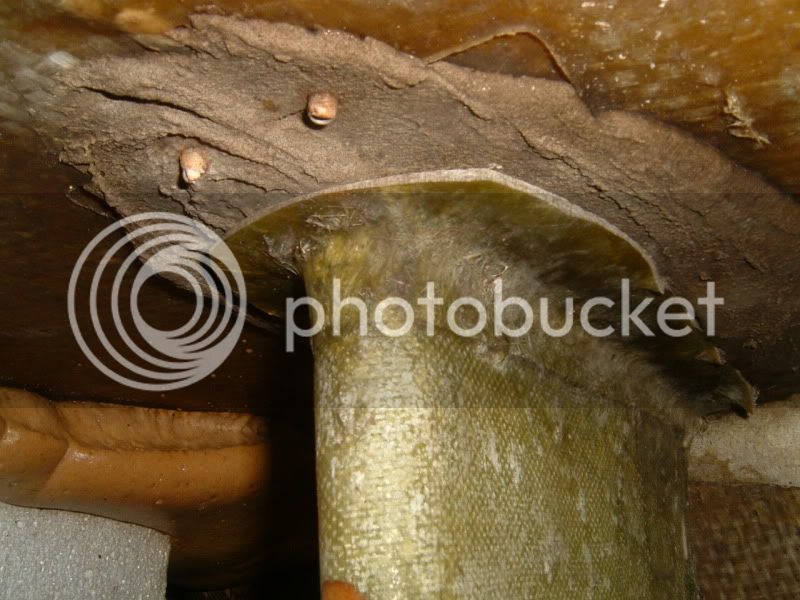
For the bailer, I figured to just remove it and daub epoxy paste around the inside of the hole, concentrating on the joint between the hull and the cockpit. The bubbles in the daggereboard trunk seem to be all the way around about an inch below the deck, almost as if the fiberglass cloth was not full saturated with resin.
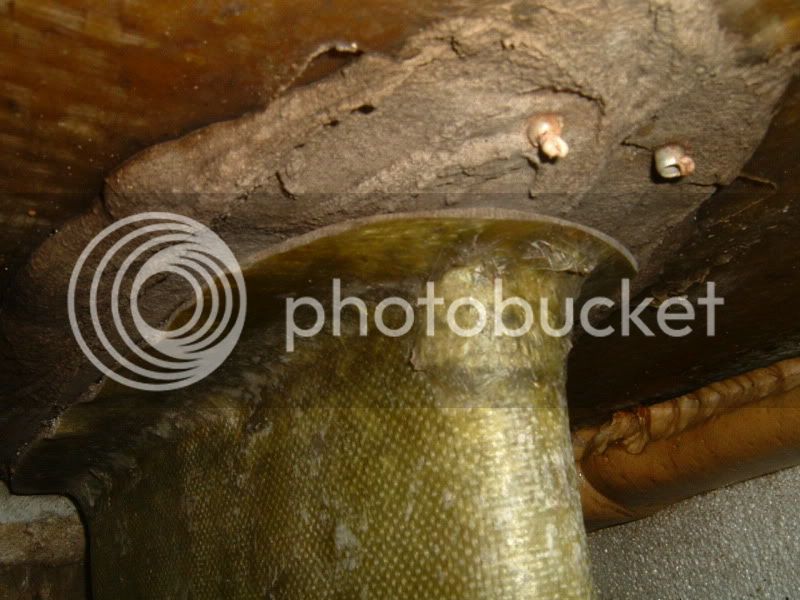
Since the water is coming from outside, it seems like the repair should be outside, not inside the hull. I'm thinking that maybe the way to do it would be to add just enough (filleting blend) thickener to some resin to make sure it doesn't run too much, and coat the inside of the trunk with this, using a foam brush with an extended handle.
I do have a port in the deck just forward of the daggerboard trunk, so if the above did not work, plan B would be wrap the whoe trunk, from deck to bottom with a lyer of cloth and epoxy resin.
If anyone has any suggestions, I'd love to hear them.
I did a leak test today (not as hard as I thought) and discovered the leaks are all around the top of the daggerboard trunk and around the bailer. For the bailer, I figured to just remove it and daub epoxy paste around the inside of the hole, concentrating on the joint between the hull and the cockpit. The bubbles in the daggereboard trunk seem to be all the way around about an inch below the deck, almost as if the fiberglass cloth was not full saturated with resin.
Since the water is coming from outside, it seems like the repair should be outside, not inside the hull. I'm thinking that maybe the way to do it would be to add just enough (filleting blend) thickener to some resin to make sure it doesn't run too much, and coat the inside of the trunk with this, using a foam brush with an extended handle.
I do have a port in the deck just forward of the daggerboard trunk, so if the above did not work, plan B would be wrap the whoe trunk, from deck to bottom with a lyer of cloth and epoxy resin.
If anyone has any suggestions, I'd love to hear them.