BrainCorrel
Member
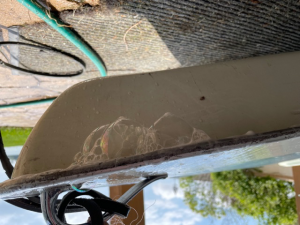
On my scorpion, the drain did not seem to unscrew. I was able to turn it back and forth until it popped out a bit. Once I did that the water ran right through the bailer onto my other boat below.Speaking of drains. I hosed the boat down and noticed that the tub holds water well.
View attachment 45739
Is this correct behavior when the boat is sitting in the yard or do I need to fix or replace the Bailer system?
Henny
")

 but works every time and, if lost to misadventure, its replacement costs less than $6.


") Alternate anti-corrosives in between shots.
Alternate anti-corrosives in between shots.