kevmuskoka
New Member
Hi there,
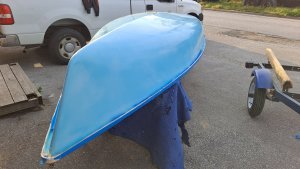
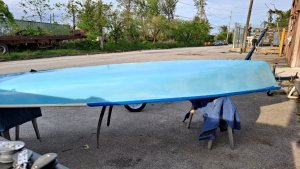
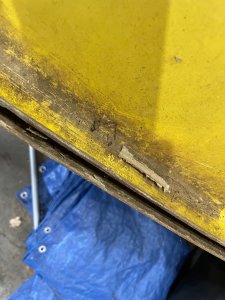
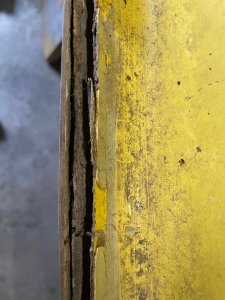
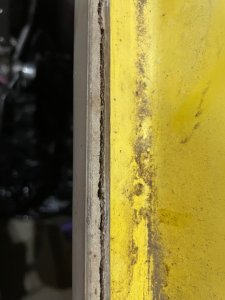
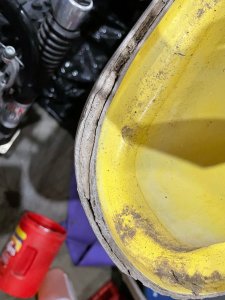
I obtained a laser for free that had some separation from the two halves - I've ordered from 3M 5200 that will hopefully work (my dad suggested simple construction adhesive... he doesn't do marine stuff... haha).
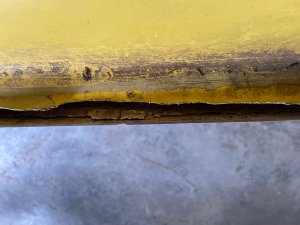
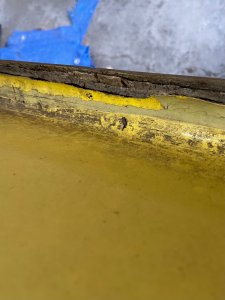
My question relates to how to clean up for best adhesion, I've attached some photos. It appears like the sides haven't had much repair done, but the front seems to have something in between the pieces. Looking at the sides, I thought I'd have to dig out old adhesive, but I feel that if I do that, the two parts won't line up correctly and it'll be worse. There is some dirt/dust, but I'm worried about trying too hard to separate the pieces to get in there.
Hopefully someone can help guide me in this journey.
I obtained a laser for free that had some separation from the two halves - I've ordered from 3M 5200 that will hopefully work (my dad suggested simple construction adhesive... he doesn't do marine stuff... haha).
My question relates to how to clean up for best adhesion, I've attached some photos. It appears like the sides haven't had much repair done, but the front seems to have something in between the pieces. Looking at the sides, I thought I'd have to dig out old adhesive, but I feel that if I do that, the two parts won't line up correctly and it'll be worse. There is some dirt/dust, but I'm worried about trying too hard to separate the pieces to get in there.
Hopefully someone can help guide me in this journey.
")