
Breeze Bender
Breeze Bender
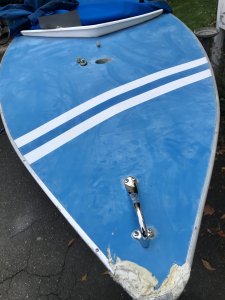
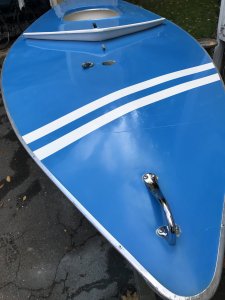
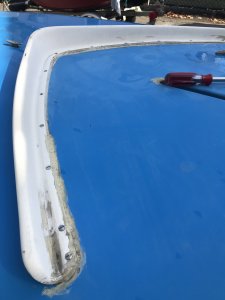
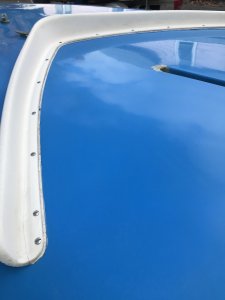
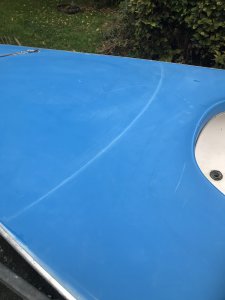
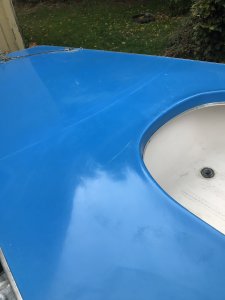
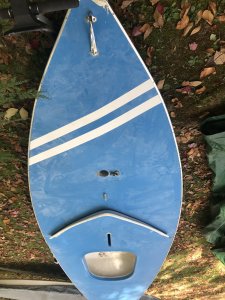
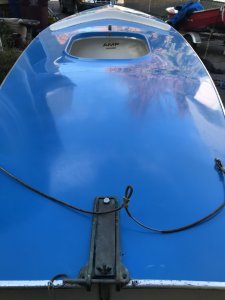
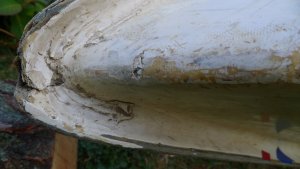
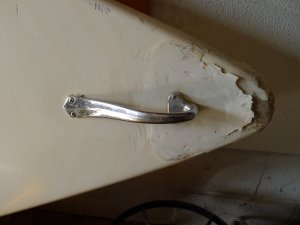
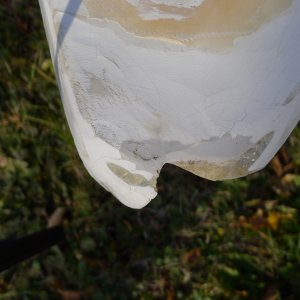
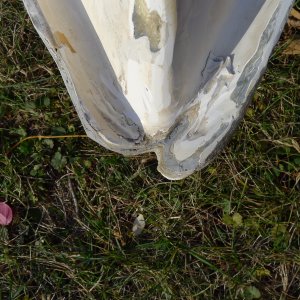
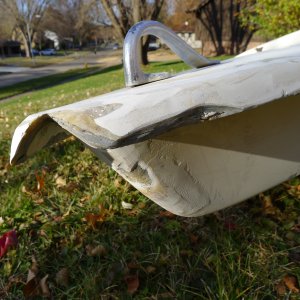
This is my latest Sunfish. Oregongirl inspired me to clean it up before tucking it in for the winter. I’ve always been partial to the blue deck. This one polished up nicely with some elbow grease. Wet dry (1500), with warm, soapy water, then rubbing compound, then 3M wax and restorer. I divided the boat in 3rds and did it over 3 days. If I had a buffer it would really sparkle. The classic half-moon scratch across the rear deck from the tiller was greatly improved (tiller adjustment will be made) and the splashguard will be painted. I removed a ton of ugly sealant around it. I left the smallest strip, but in looking at pics I probably should remove it all.
Attachments
-
 2132C6AD-D369-4CA3-B074-B0E745C85CA4.jpeg732.6 KB · Views: 112
 -
 366E9188-739B-4AE3-A03D-B3930D30C97A.jpeg666.2 KB · Views: 100
 -
 FA281C7B-D534-41AD-BB80-201D9BEC4FC3.jpeg510.5 KB · Views: 88
 -
 B2BFFFDD-321A-4106-9F35-56EB025C5E6D.jpeg449.6 KB · Views: 83
 -
 D4734FDF-E9C0-4492-95B6-F37D9E57A952.jpeg493.2 KB · Views: 82
 -
 2BF0EADA-1715-4EF8-863A-3868B0B203D1.jpeg503.9 KB · Views: 86
 -
 3C40F586-3F7F-4F38-B57E-F962662C7A12.jpeg1 MB · Views: 93
 -
 A68D7619-7661-4342-A827-EB17B4B304C2.jpeg512.6 KB · Views: 98
 ).
).


")


")