shorefun
Well-Known Member
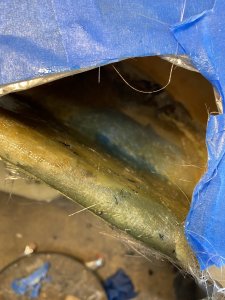
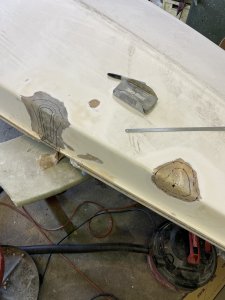
These are picts of the 2006 I bought that had some holes in it. For $200 with a like new sail, well I could not go wrong.
I am learning as I go with this glass work. My main goals are to put in structure and keep the repair areas low enough I can get a good gel coat on top. I bought some tints and I have a neighbor that was an art teacher that I hope to have help match the colors.
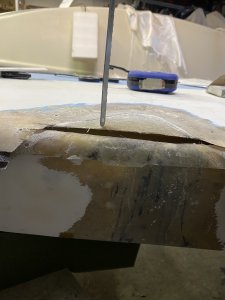
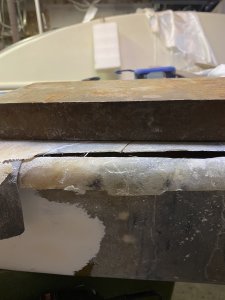
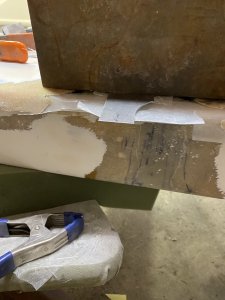
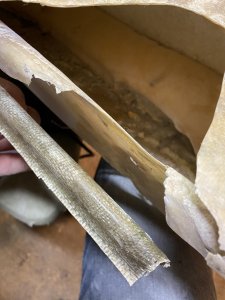
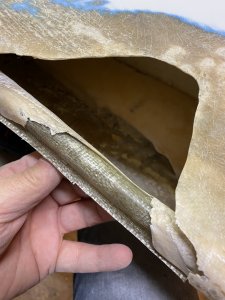
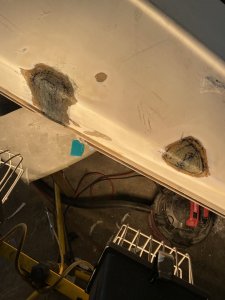
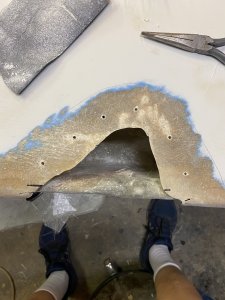
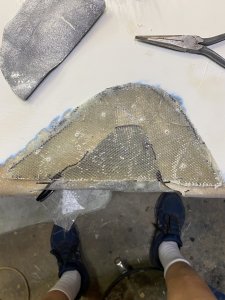
The hull on the big hole was repaired from the inside. It was tough, I ended up having to cut down the glass in strips. I laid them at 90 degrees. The rest of the repairs are just outside. There was some of the original inner woven still basically there. If the repair does not work I will open the hole and do a back patch.
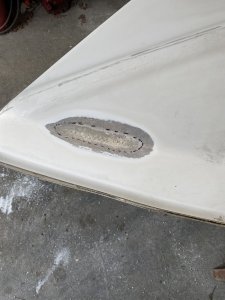
You can see I made a mold of the J from the other side to make the missing area. It was nice an straight when I left it to cure and was slightly wavy when I came back. Not really a problem. I filled in some of the low spots.
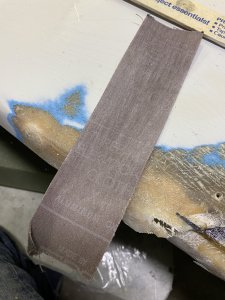
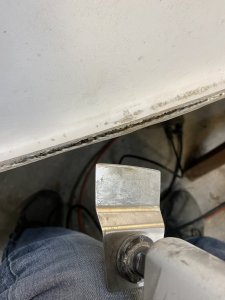
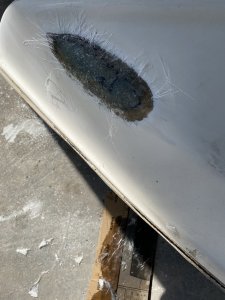
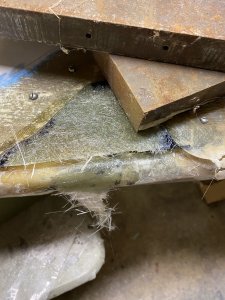
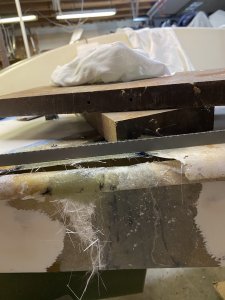
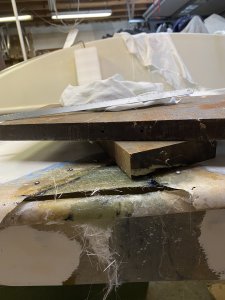
The deck needed a backer. I made up a flat piece of glass 3 layers, 2 woven and one mat. I pre drilled holes through both layers with the smaller diameter drill for the sheet metal screws. Then opened up the deck holes to let the threads through. I used a pick to line up the holes while a third hand held the glass in place with a paint stirrer. I put a layer of mat on the glass and used my finger to wet the underside of the deck. Then screwed it up. The piece curved up some. I found if I pressed on the deck in the right spot it came out level. So I took some metal scrap I have laying around and put some weight on it.
I should mention I have been using a new hack saw blade to check that the areas are low enough for the gel coat build up. I used the blade to check the patch I put in the deck.
So that is the quicky of what I have been doing. Hopefully this all works out fine for the long term.
I will add that there are many ways to do this repair. This is what made sense for me based on time limits and materials on hand. I will add I really do not like inspection ports on the deck if I can avoid it.
I am learning as I go with this glass work. My main goals are to put in structure and keep the repair areas low enough I can get a good gel coat on top. I bought some tints and I have a neighbor that was an art teacher that I hope to have help match the colors.
The hull on the big hole was repaired from the inside. It was tough, I ended up having to cut down the glass in strips. I laid them at 90 degrees. The rest of the repairs are just outside. There was some of the original inner woven still basically there. If the repair does not work I will open the hole and do a back patch.
You can see I made a mold of the J from the other side to make the missing area. It was nice an straight when I left it to cure and was slightly wavy when I came back. Not really a problem. I filled in some of the low spots.
The deck needed a backer. I made up a flat piece of glass 3 layers, 2 woven and one mat. I pre drilled holes through both layers with the smaller diameter drill for the sheet metal screws. Then opened up the deck holes to let the threads through. I used a pick to line up the holes while a third hand held the glass in place with a paint stirrer. I put a layer of mat on the glass and used my finger to wet the underside of the deck. Then screwed it up. The piece curved up some. I found if I pressed on the deck in the right spot it came out level. So I took some metal scrap I have laying around and put some weight on it.
I should mention I have been using a new hack saw blade to check that the areas are low enough for the gel coat build up. I used the blade to check the patch I put in the deck.
So that is the quicky of what I have been doing. Hopefully this all works out fine for the long term.
I will add that there are many ways to do this repair. This is what made sense for me based on time limits and materials on hand. I will add I really do not like inspection ports on the deck if I can avoid it.
Attachments
-
 IMG_2580.JPG813.4 KB · Views: 65
 -
 IMG_2581.JPG841.5 KB · Views: 71
 -
 IMG_2582.JPG950.9 KB · Views: 52
 -
 IMG_2583.JPG883.4 KB · Views: 49
 -
 IMG_2584.JPG880.7 KB · Views: 61
 -
 IMG_2585.JPG765.1 KB · Views: 45
 -
 IMG_2586.JPG770.7 KB · Views: 48
 -
 IMG_2587.JPG738 KB · Views: 55
 -
 IMG_2590.JPG1.1 MB · Views: 60
 -
 IMG_2591.JPG1.1 MB · Views: 68
 -
 IMG_2593.JPG1.2 MB · Views: 48
 -
 IMG_2594.JPG834.6 KB · Views: 52
 -
 IMG_2595.JPG909 KB · Views: 53