Laser 2 restoration

John McKee

New Member
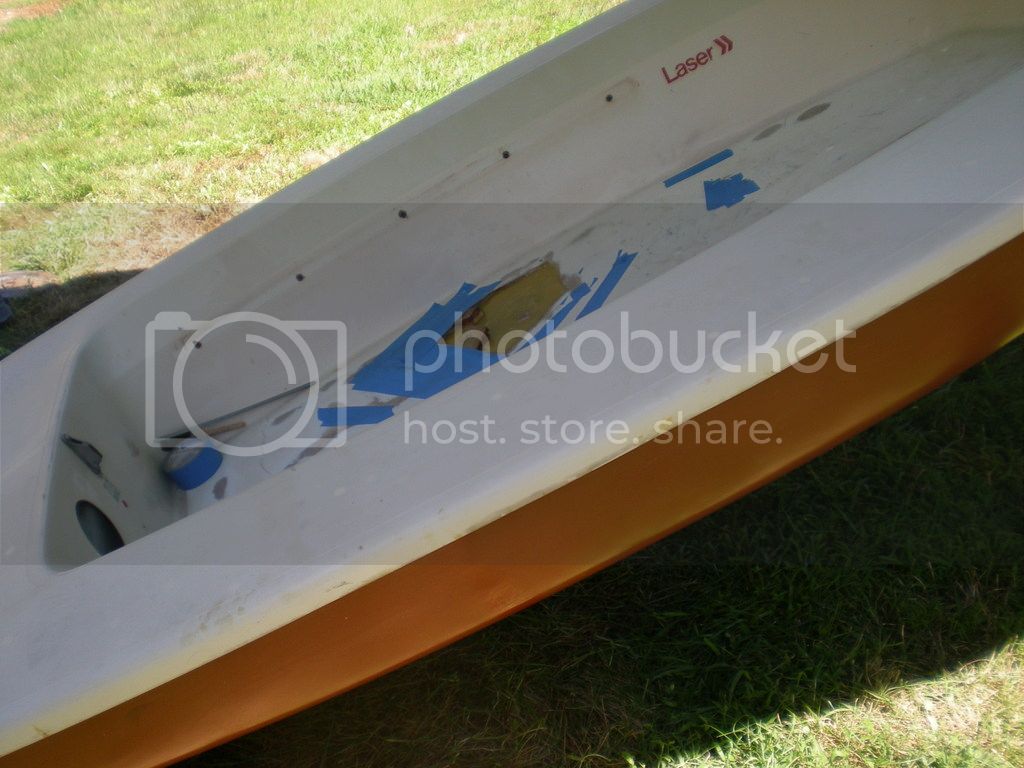
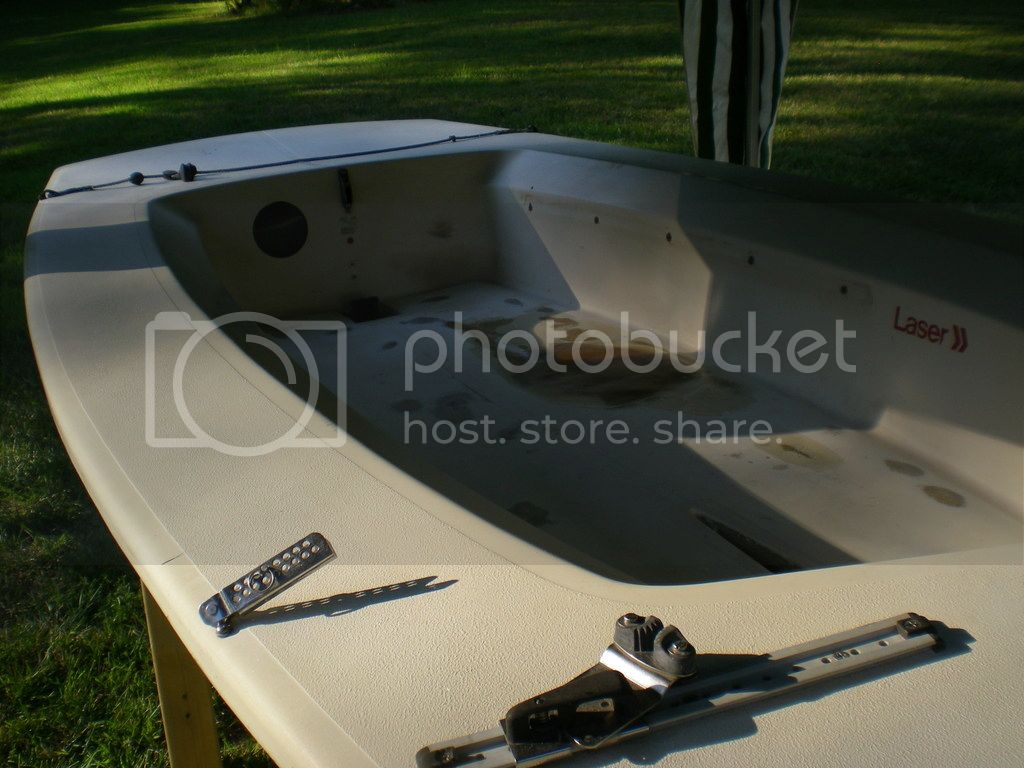
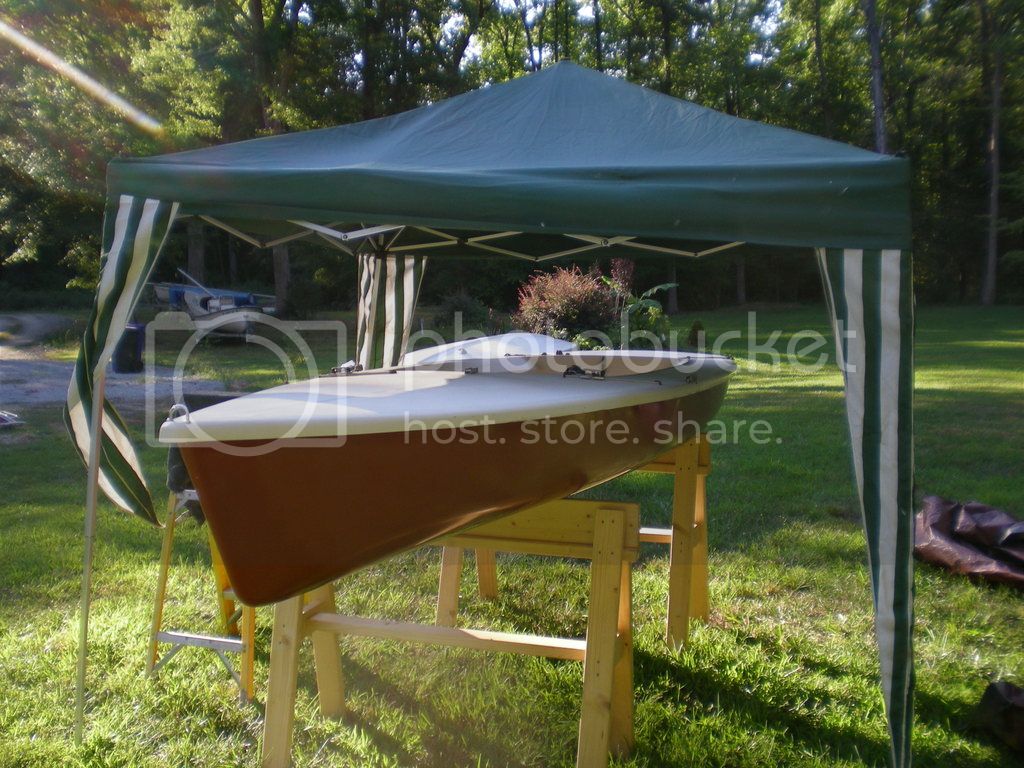
My first post. Thank you for all the helpful advice gleaned from these threads. This Laser 2 had been sitting, topside up, in somebody's North Carolina back yard for years. The remnants of a covering, tattered. The drain of the cockpit clogged as the owner got old and sick. And several winters or more of standing water in the cockpit. A little scary at first to look at. Until you looked around and realized the cockpit floor was bad but fixable. The deck appeared firm and the hull problem free. I started with the hull. And worked several days to remove the dull and discolored finish.
DSCN0471_zpshcuwzao3.jpg


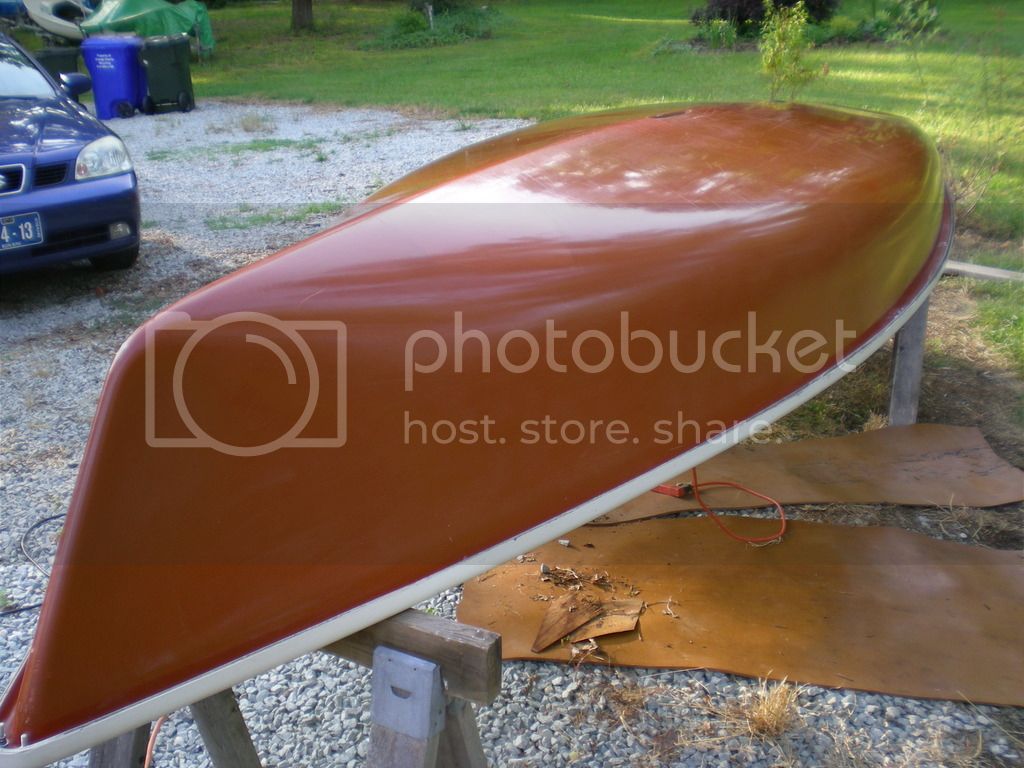
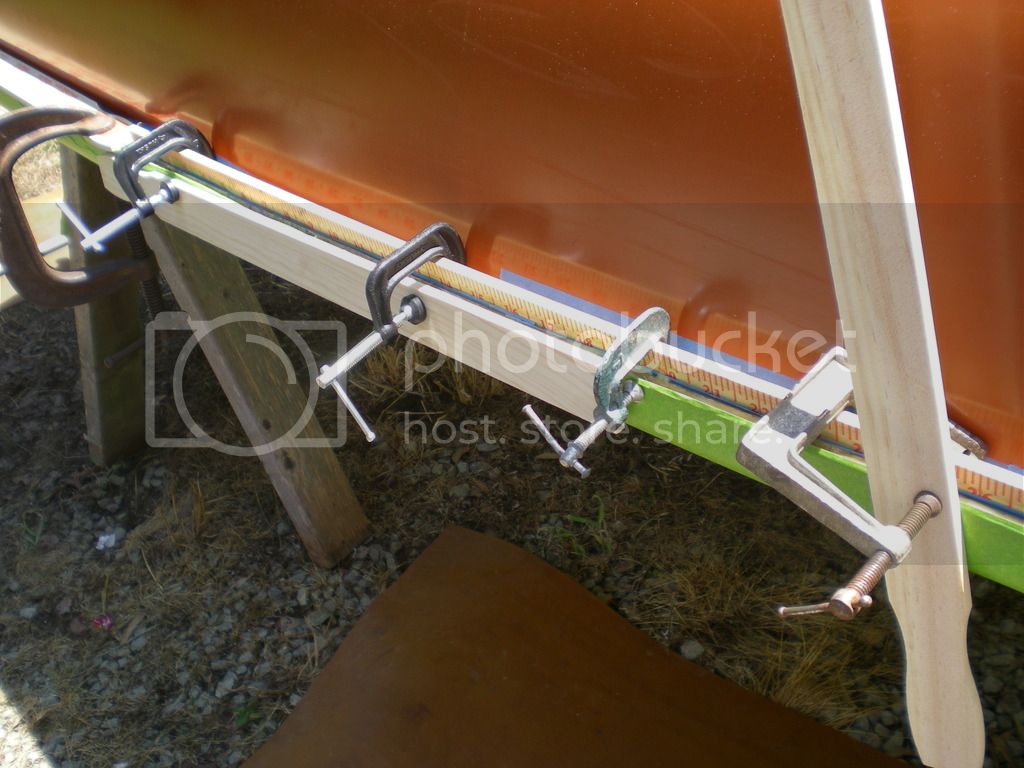
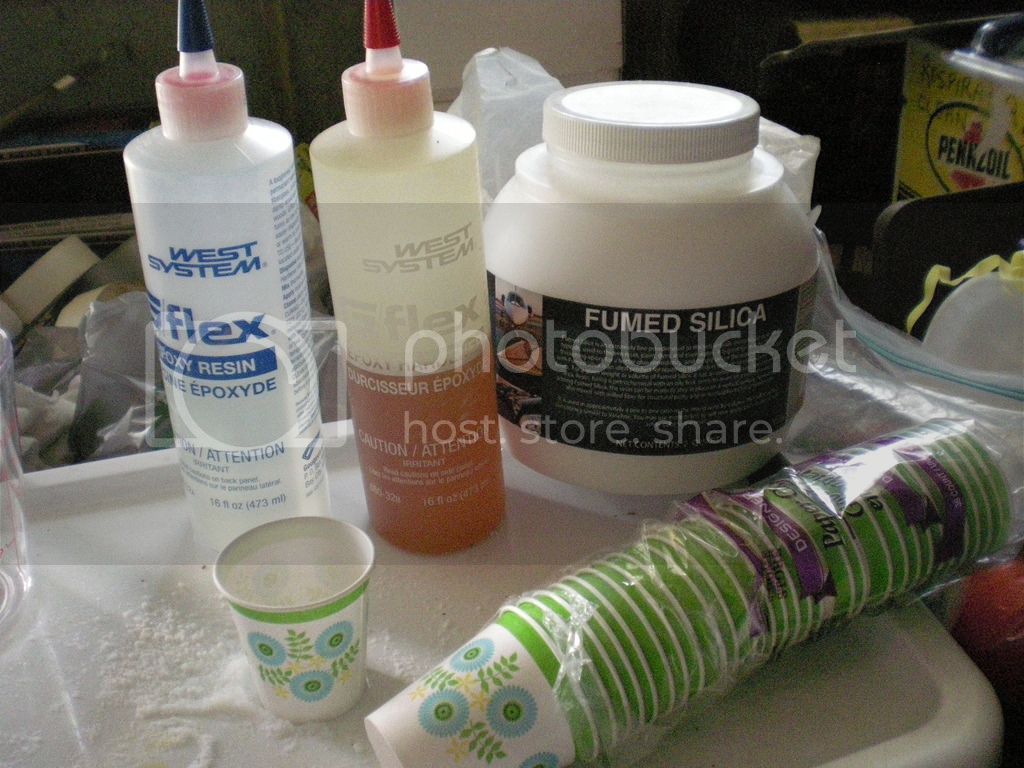
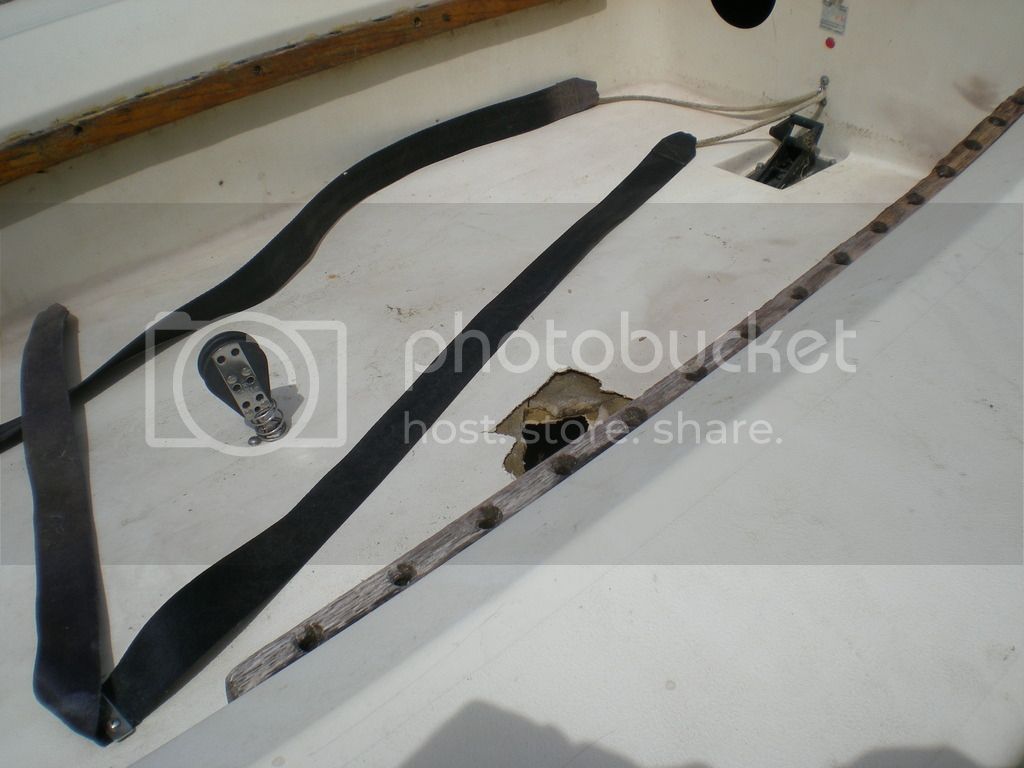
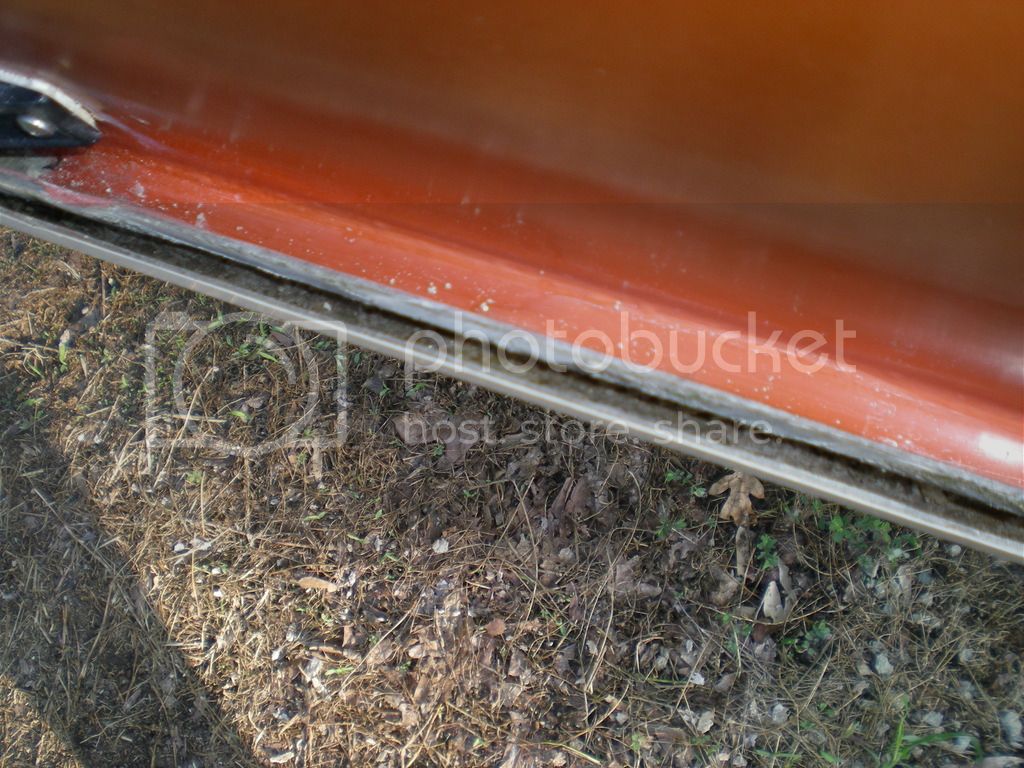
Then worked the old caulk material from the deck/hull joint for several days. The complete joint, cleaned out. I'm waiting for the mail. To use West G-Flex to reseal and bond the deck/hull.
DSCN0469_zpsp7iznv1g.jpg
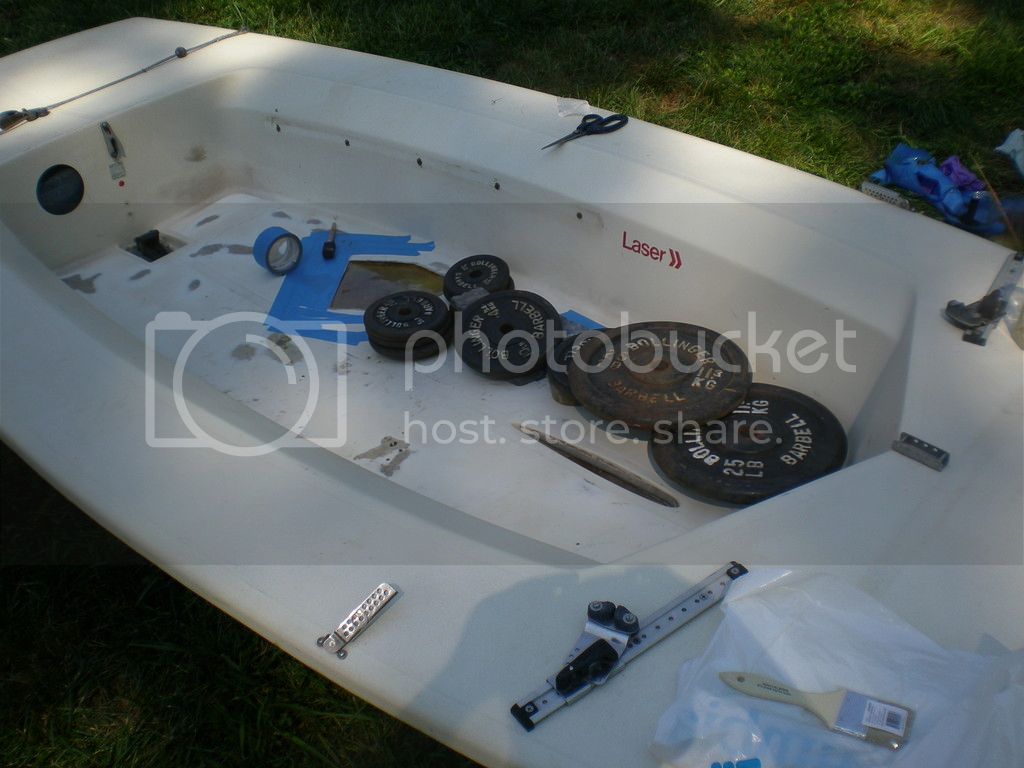
With that done and waiting I went inside the hull to determine what was up with the noise of old wood rattling around. I have several observations and would appreciate your comments. The first was the mast step. It's a two part, 3 piece step. The top of the step looks like balsa wood and is in great shape. The lower piece of wood looks like old oak. 2) 6"x 2"x 1/2" And this 2 piece combo completely shot. I thought I would replace with mahogany or teak. The foot where they fit in is fine. I can bond them back into place.
DSCN0458_zpsjcerpwvq.jpg

DSCN0459_zpsxfqws7sj.jpg

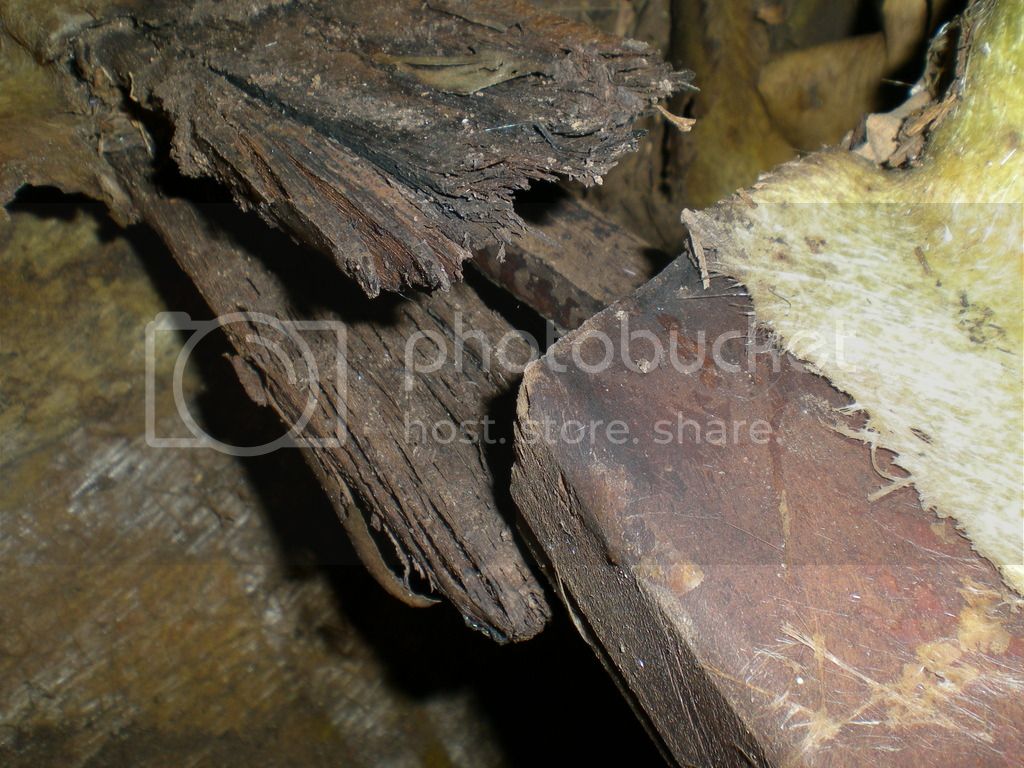
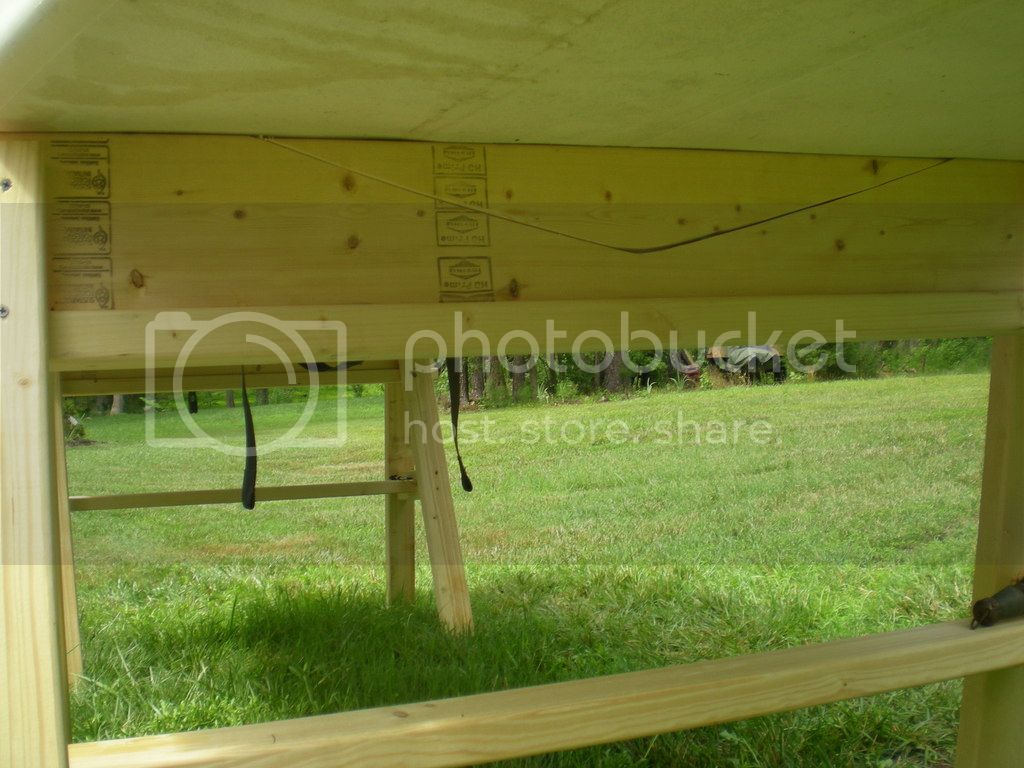
(these are taken with the boat upside down)

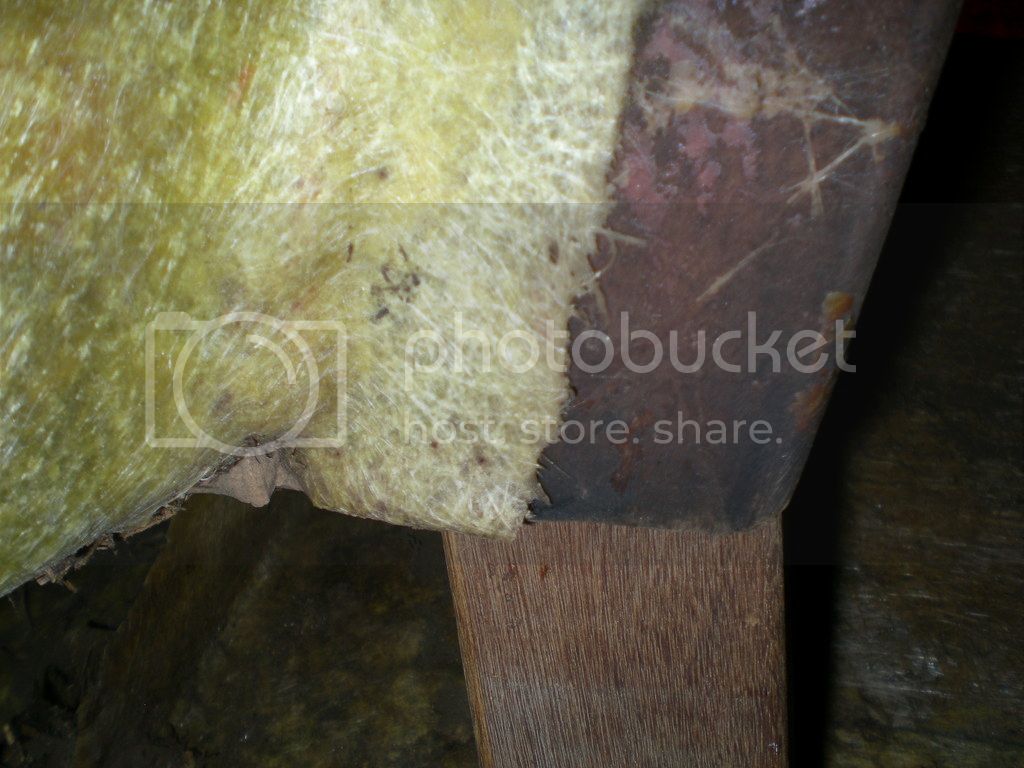
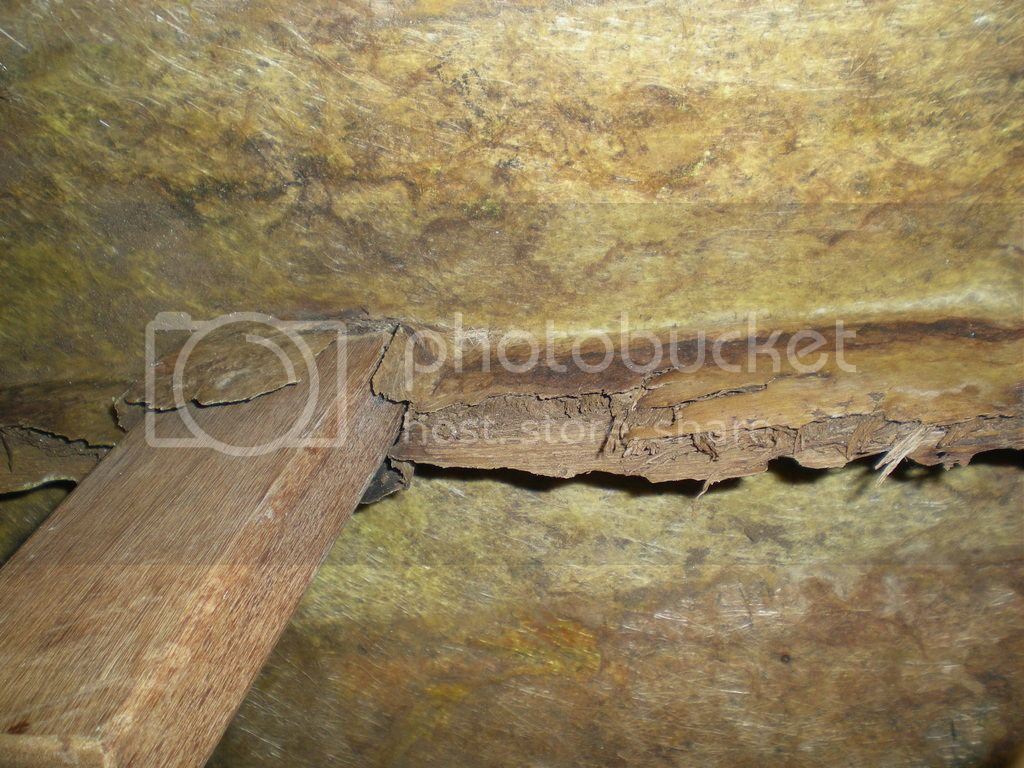
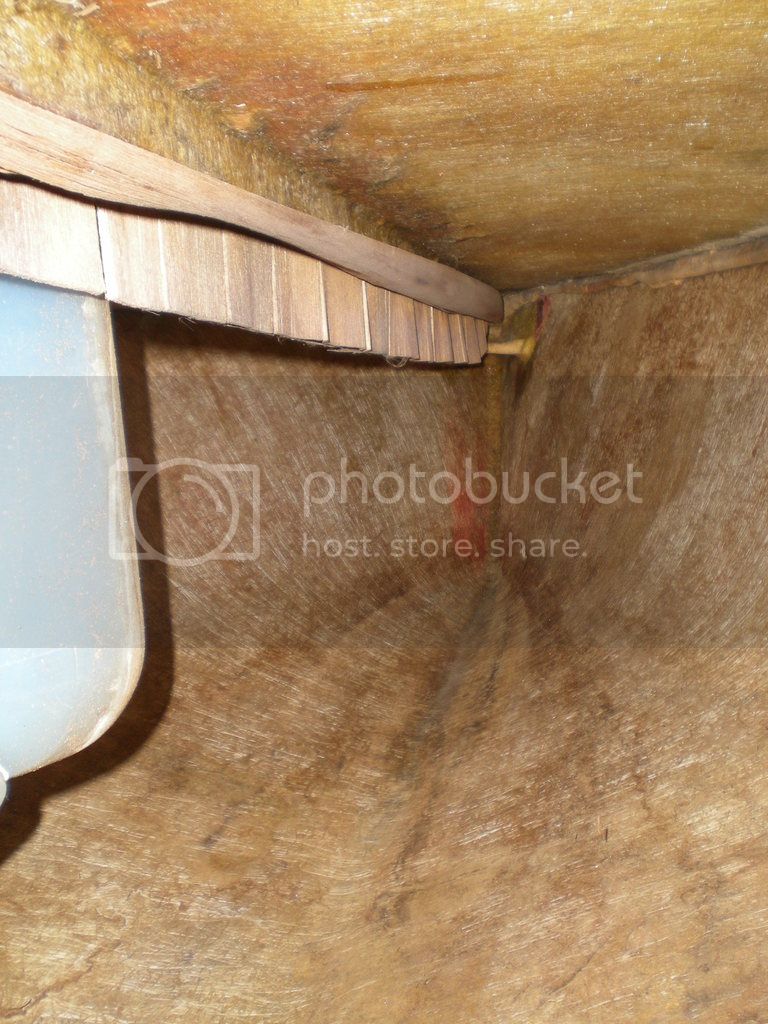
More curious is the rest of the wood.
DSCN0475_zps6uxwtckt.jpg


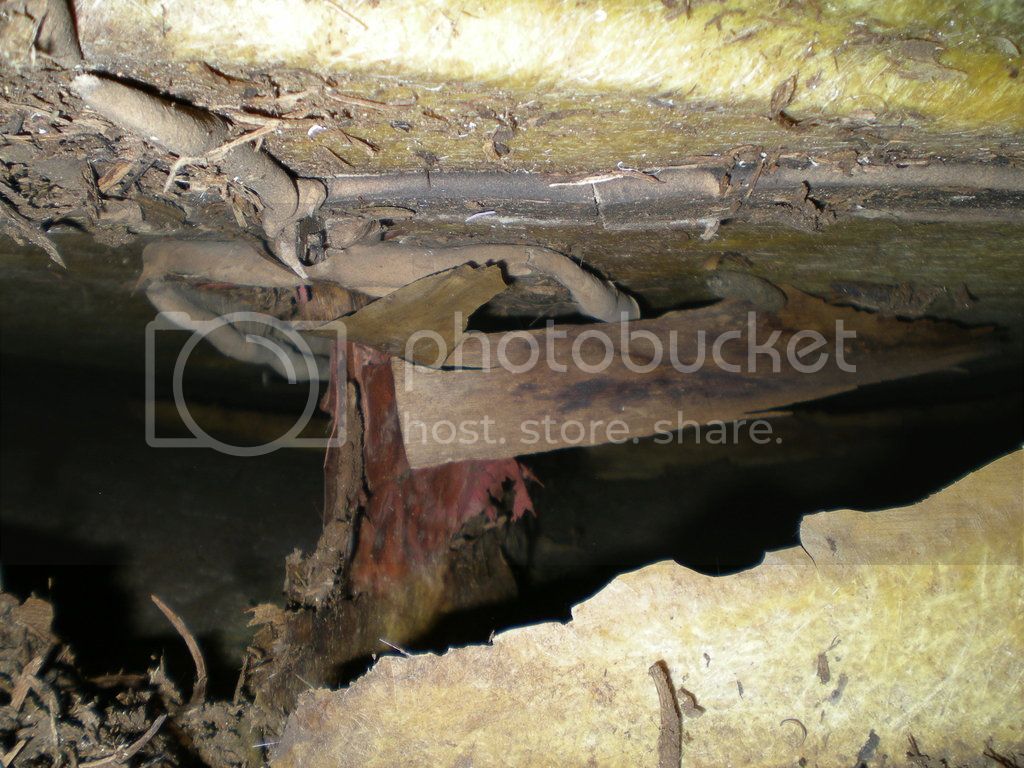
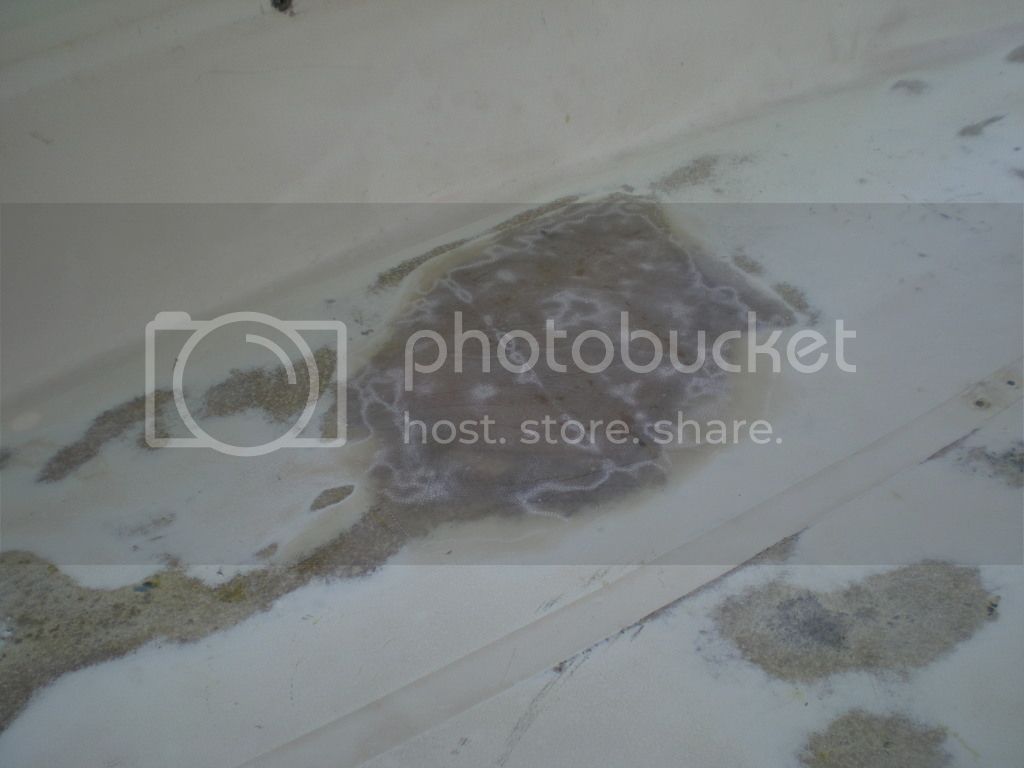
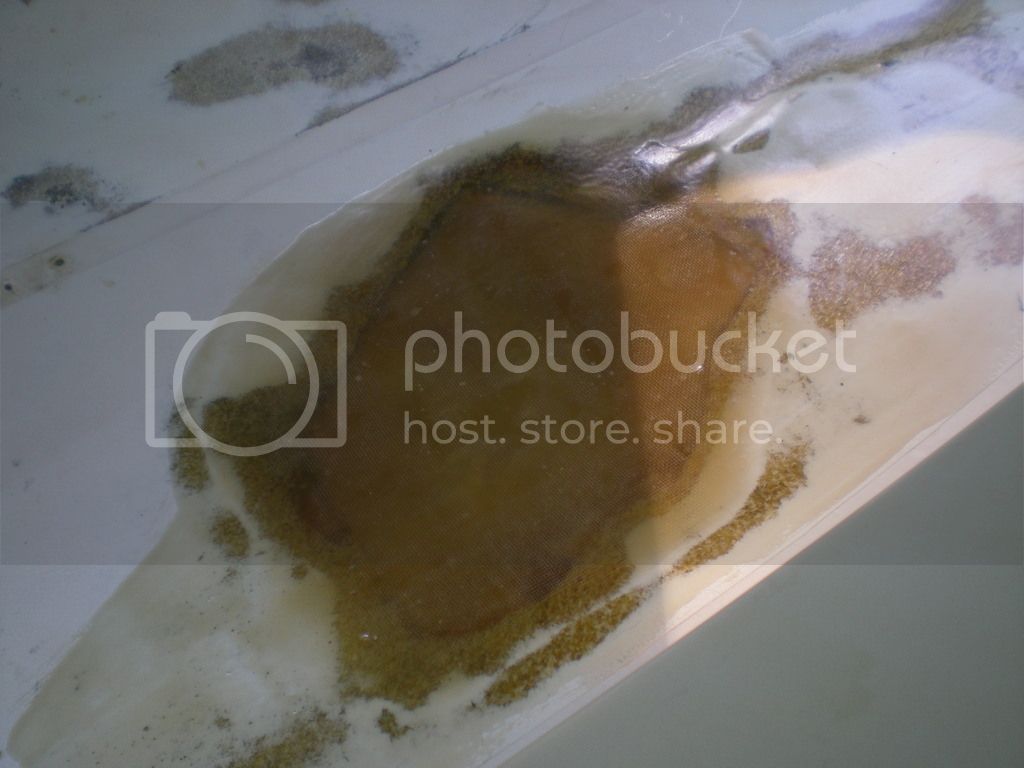
This is a picture of the centerboard-forward..... not pretty...but functional?!? Showing the remnants
of a very thin plywood, sprayed with chopped glass into place, stringer? going across the boat just aft of the step and before the cockpit. It's so thin as to be useless structurally? I'm not sure to ignore it and just let it be. The other good news is the bow to mast step, wood "stringer". Which is clean and dry.
DSCN0454_zpspgro4khr.jpg
I appreciate, very much, any comments you may have.
 
Beautiful bottom finish. That can't be the original colour?

How old is the boat? What's its sail number?

The interior pictures are disorienting; except for the last one, I don't know what part of the boat I'm looking. Somehow I get the feeling that there's some stuff that shouldn't be there. Shouldn't it look like this (minus the spinnaker launching tube): http://laser2.est.org/construction/construction.html
 
Hi LaLi, I believe it is a early 80's model. 1982. The boat still had it's original brochure. Which indicated for this year; there was this burnt orange as well as a deep blue. He is a picture of one for sale down under. With it's original matching sail:
laser%202_zpsqjsf1qgi.jpg

A little dressed up. The "for sale" listing calls this one a 1985. And from reading the numbers on the hull and this forum; what is the sail #? 3407?
DSCN0468_zpsjrdfvzxy.jpg

Thank you for the link to the pictures. It looks about the same. Except they, the builders, used a thin plywood that ran up above the chop. Which has deteriorated. A lot of sloppy bonding agent too. Here is a picture of the right half of the forward fiberglass over plywood stringer. Not near as neat as your pictures show. Look at the bonding agent above the stringer. It held the plywood?? I just don't know.
DSCN0474_zpsy9zrvici.jpg


I got ahead of myself when first buying this boat. I recognized the rarity of the color. I was so happy to have the brochure and original picture of the sails: that I contacted Schurr sails and had them make an exact color matching replica of the original sails. I haven't even taken them out of the shipping container to look yet. No numbers but the Laser insignia and hash marks.
 
Last edited:
The hull identification code isn't exactly the same as for the Lasers, but I read it as sail number 3407, built by the original Performance Sailcraft company in Montreal, sometime in 1982.

"Burnt orange"... I thought those sails were matched with yellow hulls.
 
The hull identification code isn't exactly the same as for the Lasers, but I read it as sail number 3407, built by the original Performance Sailcraft company in Montreal, sometime in 1982.

"Burnt orange"... I thought those sails were matched with yellow hulls.
That's a great memory. Better than mine! ;) I hunted down the owners manual. No blue hulls. Just the yellow, white, and orange. It looks like the Yellow,"gold",orange, and white sails are pictured on both yellow and burnt orange hulls. I'm guessing that the white sail is the "standard option" on any? For racers? Did people race these with colored sails? The owners manual has some good information. If anybody would like to see a section or part; please ask.
Laser2%20back%20coverpage_zpsedvkolin.jpg


Laser2%20front%20cover%20page_zps6u5xhltf.jpg
 
Last edited:
I'm guessing that the white sail is the "standard option" on any? For racers? Did people race these with colored sails?
I think coloured sails (except the spinnaker) in the Laser classes were a short-lived early 1980s thing; they were raced on every level, including the 1980 Laser Worlds in Kingston, where the supplied boats had yellow hulls and orange sails... I think it's those pictures my "memory" comes from (I wasn't there!).

Laser Radial sails had a few coloured panels (the leach panel and the one next to it) even later, including the 1993 and 1994 Youth Worlds boats.

Some Laser 2s were racing with old coloured sails at least as late as 2005: http://laser2.est.org/gallery/2005-npt-reg/all/

The owners manual has some good information. If anybody would like to see a section or part; please ask.
Let us see all of it!
 
G-Flex......... it all seems so simple. The bow, several feet from the bow, and one rear corner were fine. The gap thin and old material still working. I kept removing the old material from midship and rear around one corner. Then I would walk away and let it dry or cure. Then I would take more friable material out. The third time I was really pleased with my removal of the old material. By the fifth walk-around... I had to tell myself that patience must be a virtue. But it's still hot out here in the sun. And wouldn't it be nice to have a barn! At some point all the loose material was out: I had a clean inner and outer surface to bond to.

The next step setting/deciding on the "gap". In some places, mid-ship, the gap was 3/8". Every time I would dig out old material; I'd spread the gap a bit. The clam cleats original bolt thru position also showed a 3/8" gap. BUT...................

A 3/8" gap as a starting point, midship, with a well cleaned out joint quickly used up the G-Flex. I realized this in the first 8 ozs out of my 32. At that point I added fumed silica. But only 1/4 total volume. Because it didn't flow as well. I realized that I didn't want to make it thicker. It wouldn't flow into the narrowing gap going forward. I'm down to 16 ozs.

So out come lots of mini-clamps. The deck and hull mated up level already. I'm simply using more G-Flex than I thought. :eek: 
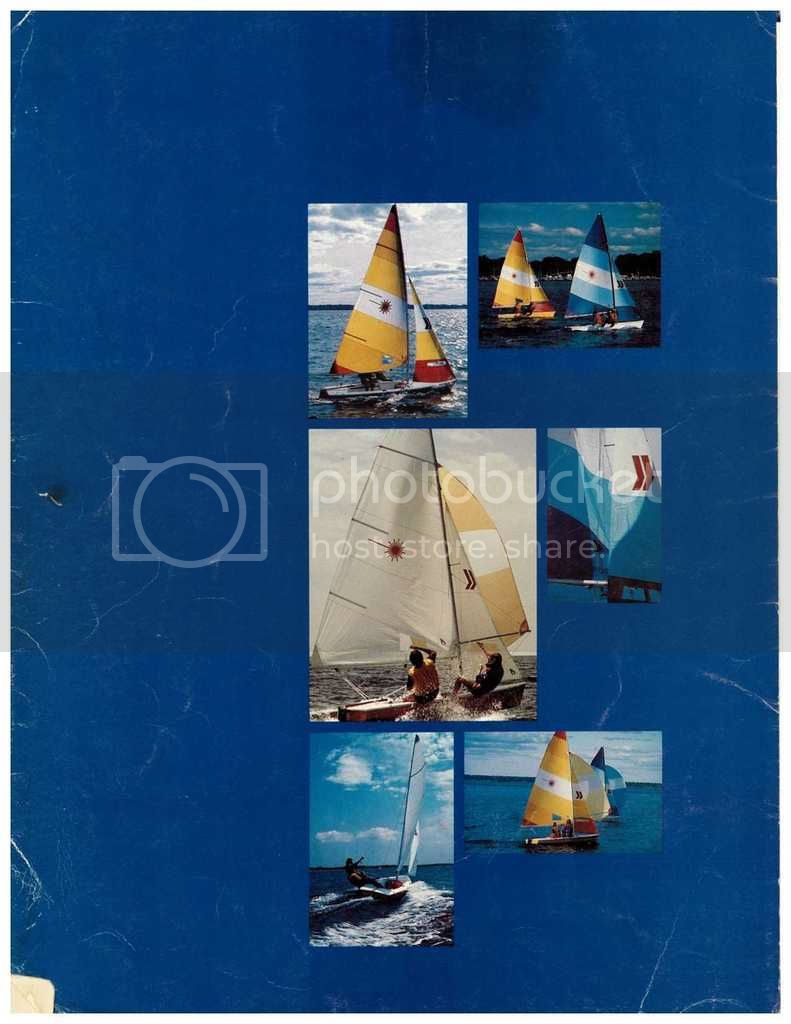
I reduced the remaining gap to a standard 1/4". Oh my! I really cleaned out this damn stuff! I ran out of G-Flex :(

I did have enough to bond and hold the entire working area. But I need another 10 oz or so. On order.

I read this forum and there are several commentators talking about this gap. And to leave it alone or draw it in with clamps. Certainly one reason to draw it in tighter would be to save on material cost. From a functional standpoint; I don't believe the gap difference will result in a performance difference. A pro might have started to fill the gap at 3/8" and then clamp/drawn the deck and hull together, laterally, until the G-Flex bead on top just rose to the surface top. I tried this and the resulting gap could be less than 1/4".

I liked the working time of G-Flex in the Carolina heat. I tried to start early. But by 11am it was over 90. And I still had time to run out!

On another note: above in the photos you see a mast step that is two parts. A balsa top with a seated mahogany bottom (this is the blown up piece which sat wet for years). It occurred to me that the top balsa and the bottom mahogany pieces were never joined. They float on each other. Allowing movement. I went out to a carpenter friends house in the heat yesterday and made a new mahogany bottom piece. One that will fit in the old slot pictured above. As we inspected the old blown up mahogany. It wasn't a single piece (6mm wide, 16mm long, 1" thick). It was two or three pieces glued together. With a 1/4" rounded over edge where it faced the balsa. Maybe for expansion or just short on material in Canada? We decided to just make a single piece out of African mahogany. Maybe I'll seal it at the base and a few inchs up when I put it in. I'm not sure.
 
Last edited:
G-Flex is great stuff. I should have bought the gallon. I finished the hull/deck using another half quart. I was pretty happy with the gunnel finger rail all the way around. It took about 4 applications and block sanding down to 220 grit.
DSCN0494_zpsmdgbzsce.jpg
DSCN0490_zpsuad8uccf.jpg

the finished product:
July4%20rails%20and%20step%20014_zpsmpshynwn.jpg

The next step was to flip over the boat. I built a set of sawhorses with the hull shaped:
July4%20rails%20and%20step%20015_zpspx5bglrr.jpg


But before turning it over; I placed in the new mahogany half mast step. Though, no glue yet. I'll glue it after it's turned over and let the balsa/mahogany joint float. Like the original. Here is the step before final placement:
July4%20rails%20and%20step%20007_zpsxckvw1ry.jpg

And yes; the bottom is flat down below. Up at the balsa joint: the balsa is an angular cut up to the deck. To the left is the cockpit. Here's a shot of the bottom which I'll fill when I flip the boat over
July4%20rails%20and%20step%20011_zpsxtqnzdps.jpg

OK... time to turn the boat over and look at that de-laminated cockpit :eek:
 
One damaged hole. And 70% de-lamination
DSCN0516_zpswymumyhd.jpg

The straps seem ok. So you wonder how many seasons/years it went through with water in the cockpit.
 
The cockpit was completely de-laminated. I cut around the hole. Following the cracks outward until their ends. I cut a hole that looked like a baseball home plate. First patching the subfloor. I then used the hole to pour in GFlex. Tilting the boat and letting the GFlex flow. I used ax wedges to open the hole up a little. It flowed beautifully. And I tilted the boat in all 4 planes. Using free weights after each pour. To compress the deck and rebond.
tilt%20epoxy%20flow%20rear_zpspjwqf3wn.jpg

This is a picture of the 3rd pour. I did have to drill a hole forward right to fill that zone. Here is the picture of the second pour with weights.
rebonding%20deck%201_zpseejsmnck.jpg

Each time I gave the pour a day to set up. I've got a nice solid floor again. Adding about 4 pounds of epoxy. Then I had to fix the floor itself. Using 40, 60, and 80 grit taking the decay and hairlines off. Then 5 or 6 layers of matting and fabric on homeplate.
Home%20plate%20final%20sand_zpsvngxt4p2.jpg

And homeplate finished....
2nd%20to%20last%20homeplate_zpsx19natch.jpg

The cockpit was a lot of work. It's done and time for the gelcoat.
upper%20deck%201_zpsr5q8r6qk.jpg

Does anybody know the color of this model?
 
I'm getting pretty excited about this project. I'll be on the water soon. Yesterday in the afternoon sun:
best%20Egypt_zpsnfpmrbt2.jpg

This is going to be a fast boat.
 
Great pictures. You did a lot of work. Do you have any recent pictures with it all done? How did you separate the hull from the deck?
 

Back
Top